Guided onboarding
This topic describes the following operations:
- Create an environment.
- Create an infrastructure.
- Automatically discover services on your cluster.
- Create network maps with a single click.
- Choose the chaos experiments to run.
- View the resilience of chaos experiments.
Before you begin, review the following:
- What is chaos engineering?
- Delegate driven Harness infrastructure
- Onboarding overview
- HCE automated onboarding
Currently, this feature is behind the feature flag CHAOS_V2_ENABLED. Contact Harness support to enable the feature.
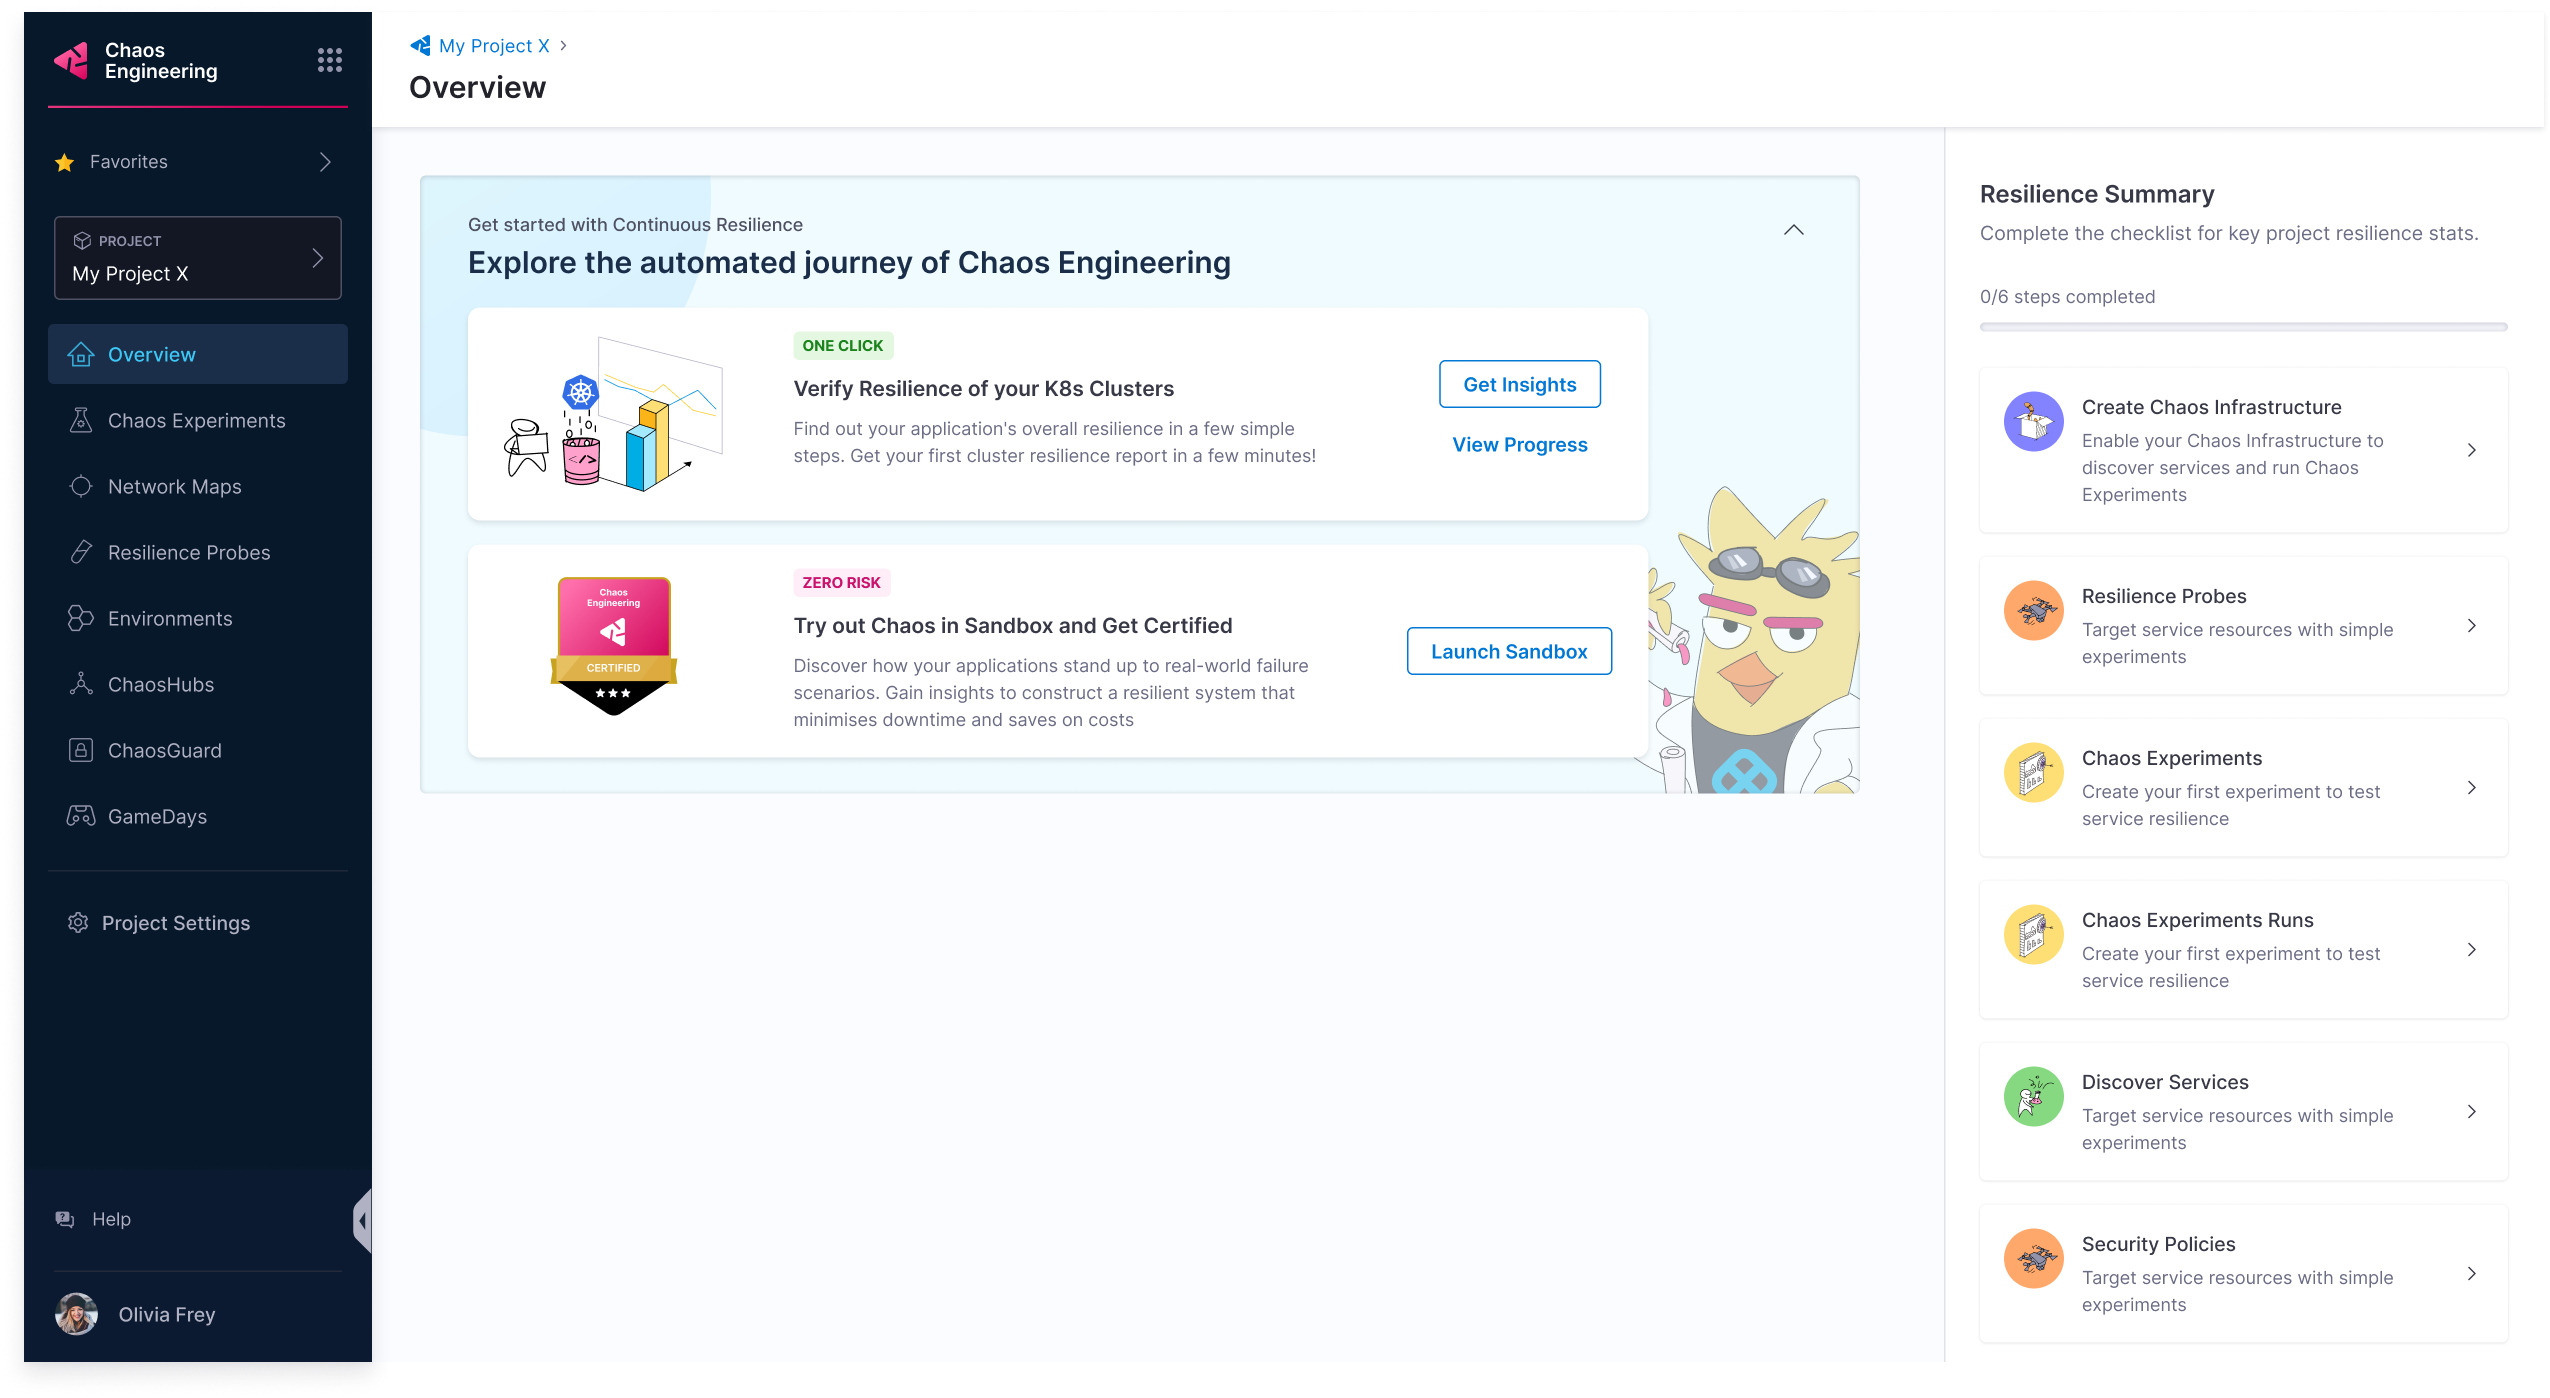
What is guided onboarding?
Guided onboarding, as the name suggests, guides you through creating a chaos experiment without the hassle of installing infrastructure, with the click of a button.
For example, you can click a button to create an environment and HCE creates an environment in the background. On the same lines, you can click a button to install a chaos infrastructure in the environment you created earlier.
Why choose guided onboarding?
- Guided onboarding gives you multiple options at every step so you know the entire process of creating a chaos experiment and executing it.
- At every step, you have the option of allowing HCE to create the entity for you or you can choose to customize the entity creation too.
- The level of granularity is, that HCE will suggest experiments for you based on earlier steps (network maps and so on) and you can create experiments. But to execute them, you have to select the Run button.
If you chose to onboard with guidance, follow the steps below.
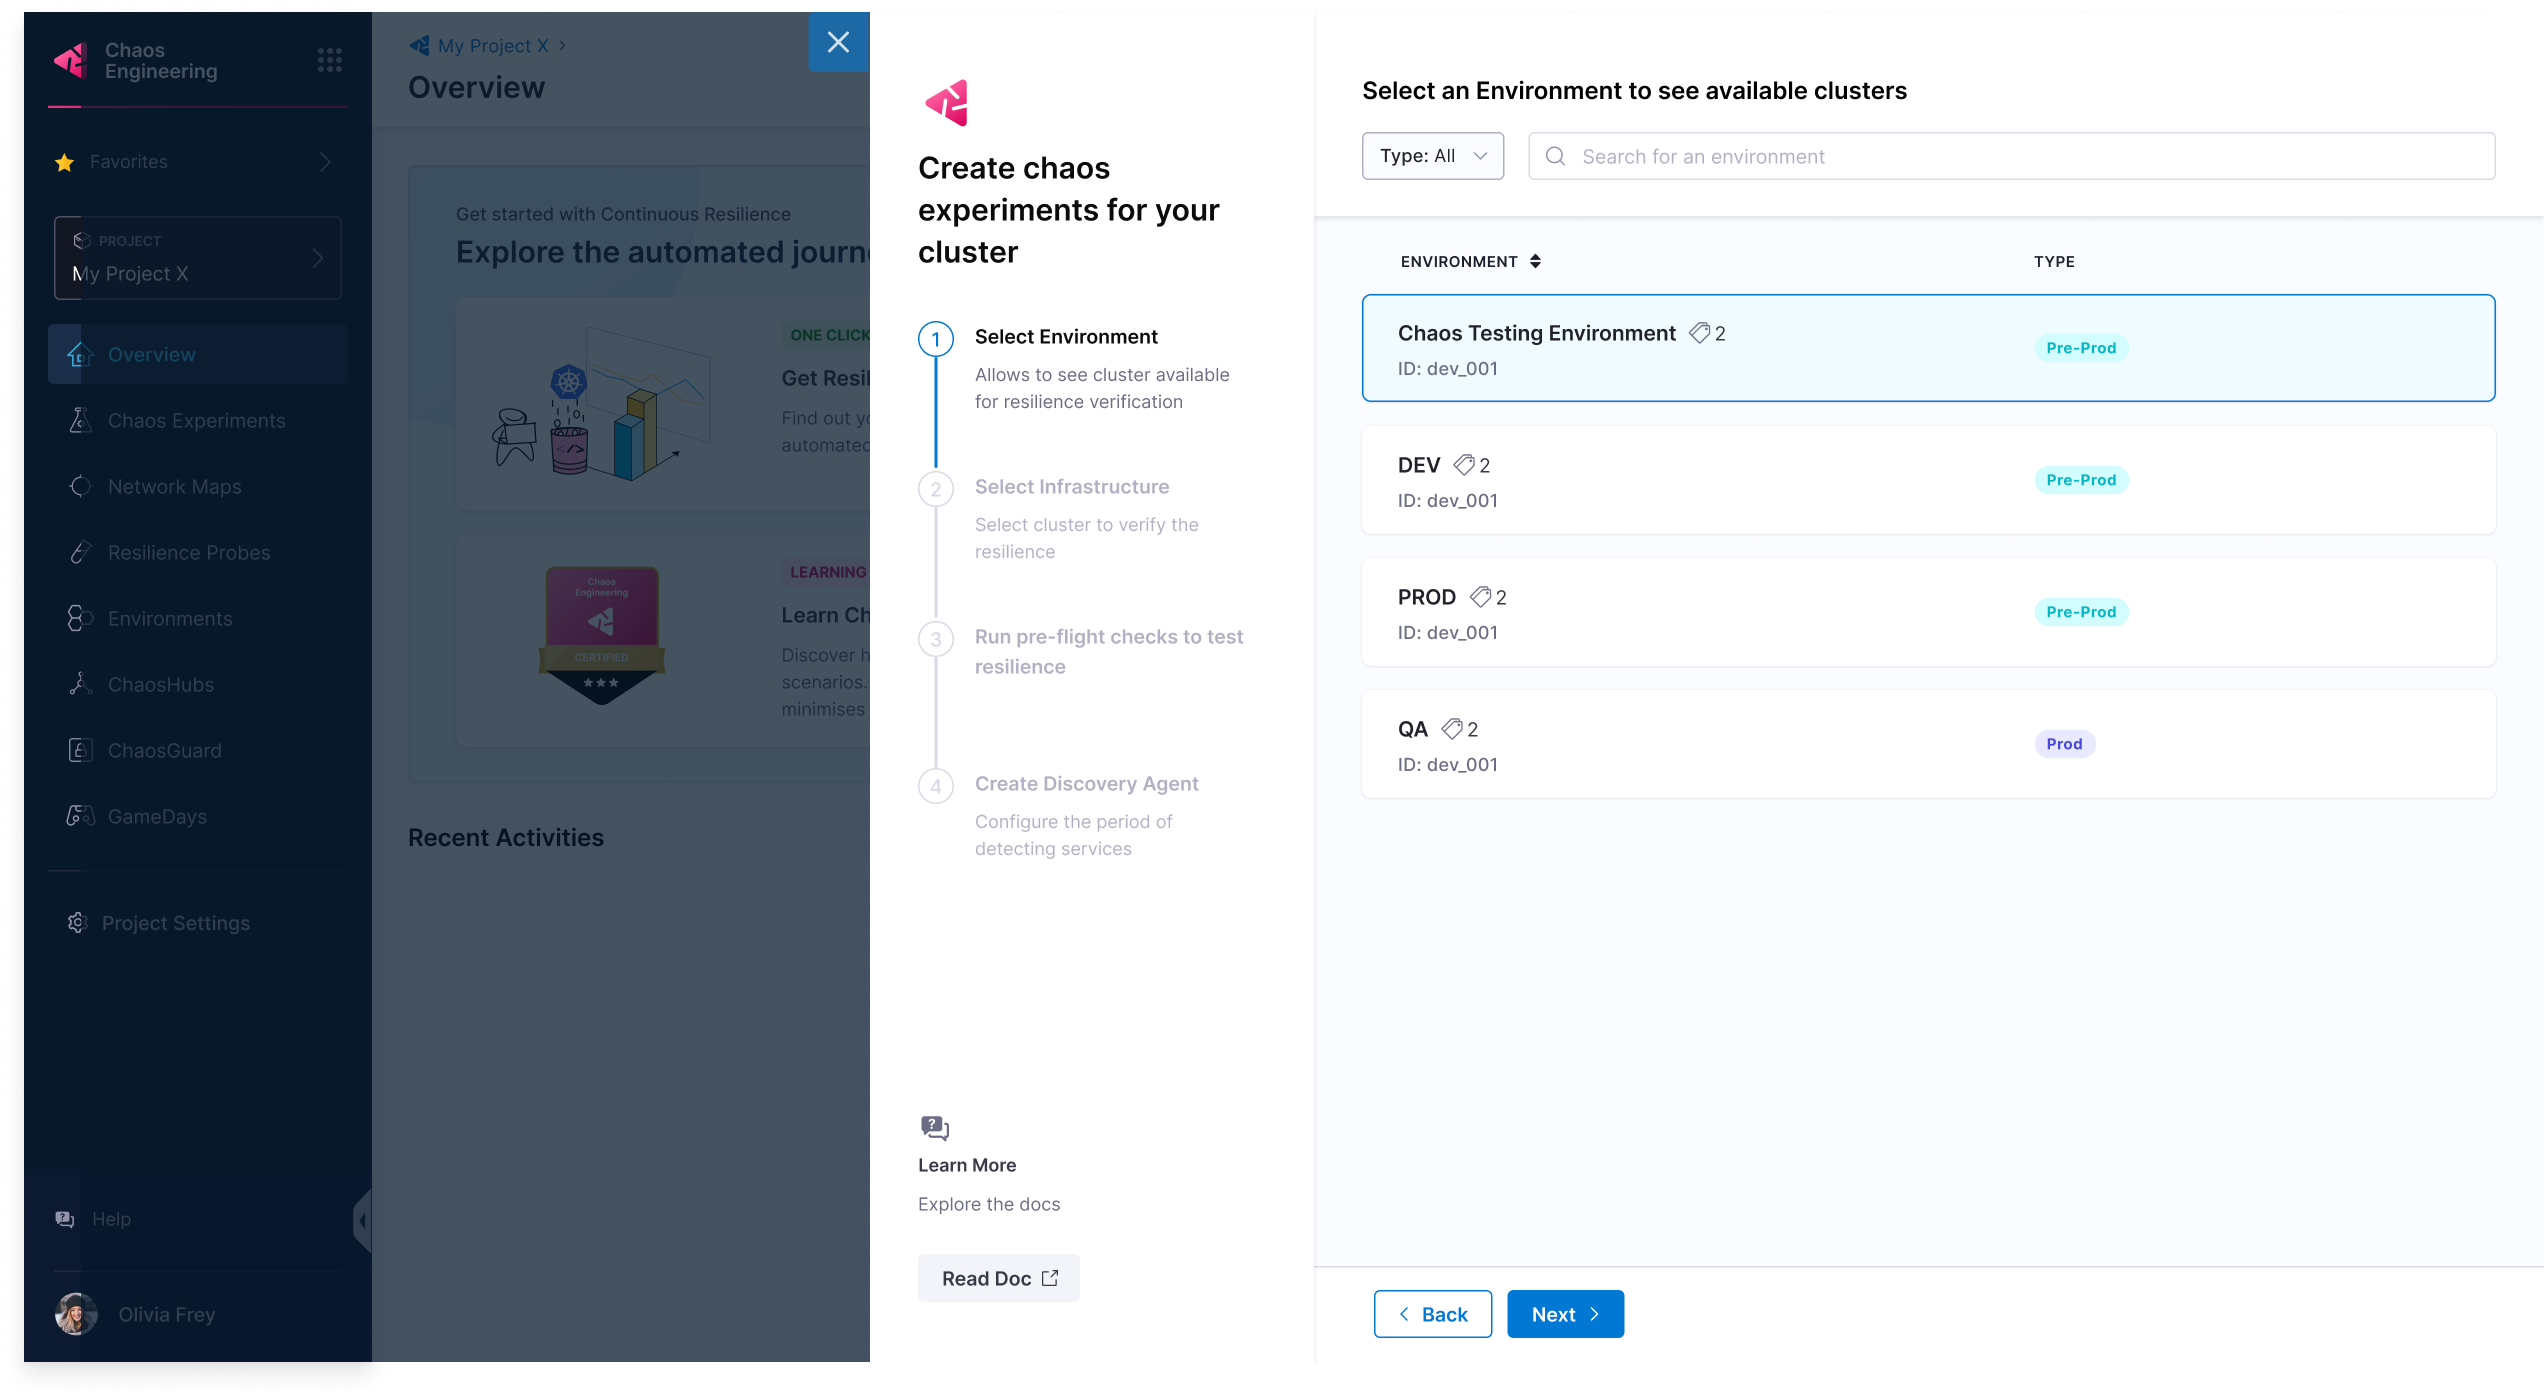
Select an environment
-
Select an environment from a list of environments and select Next. It might take a while to set up the environment.
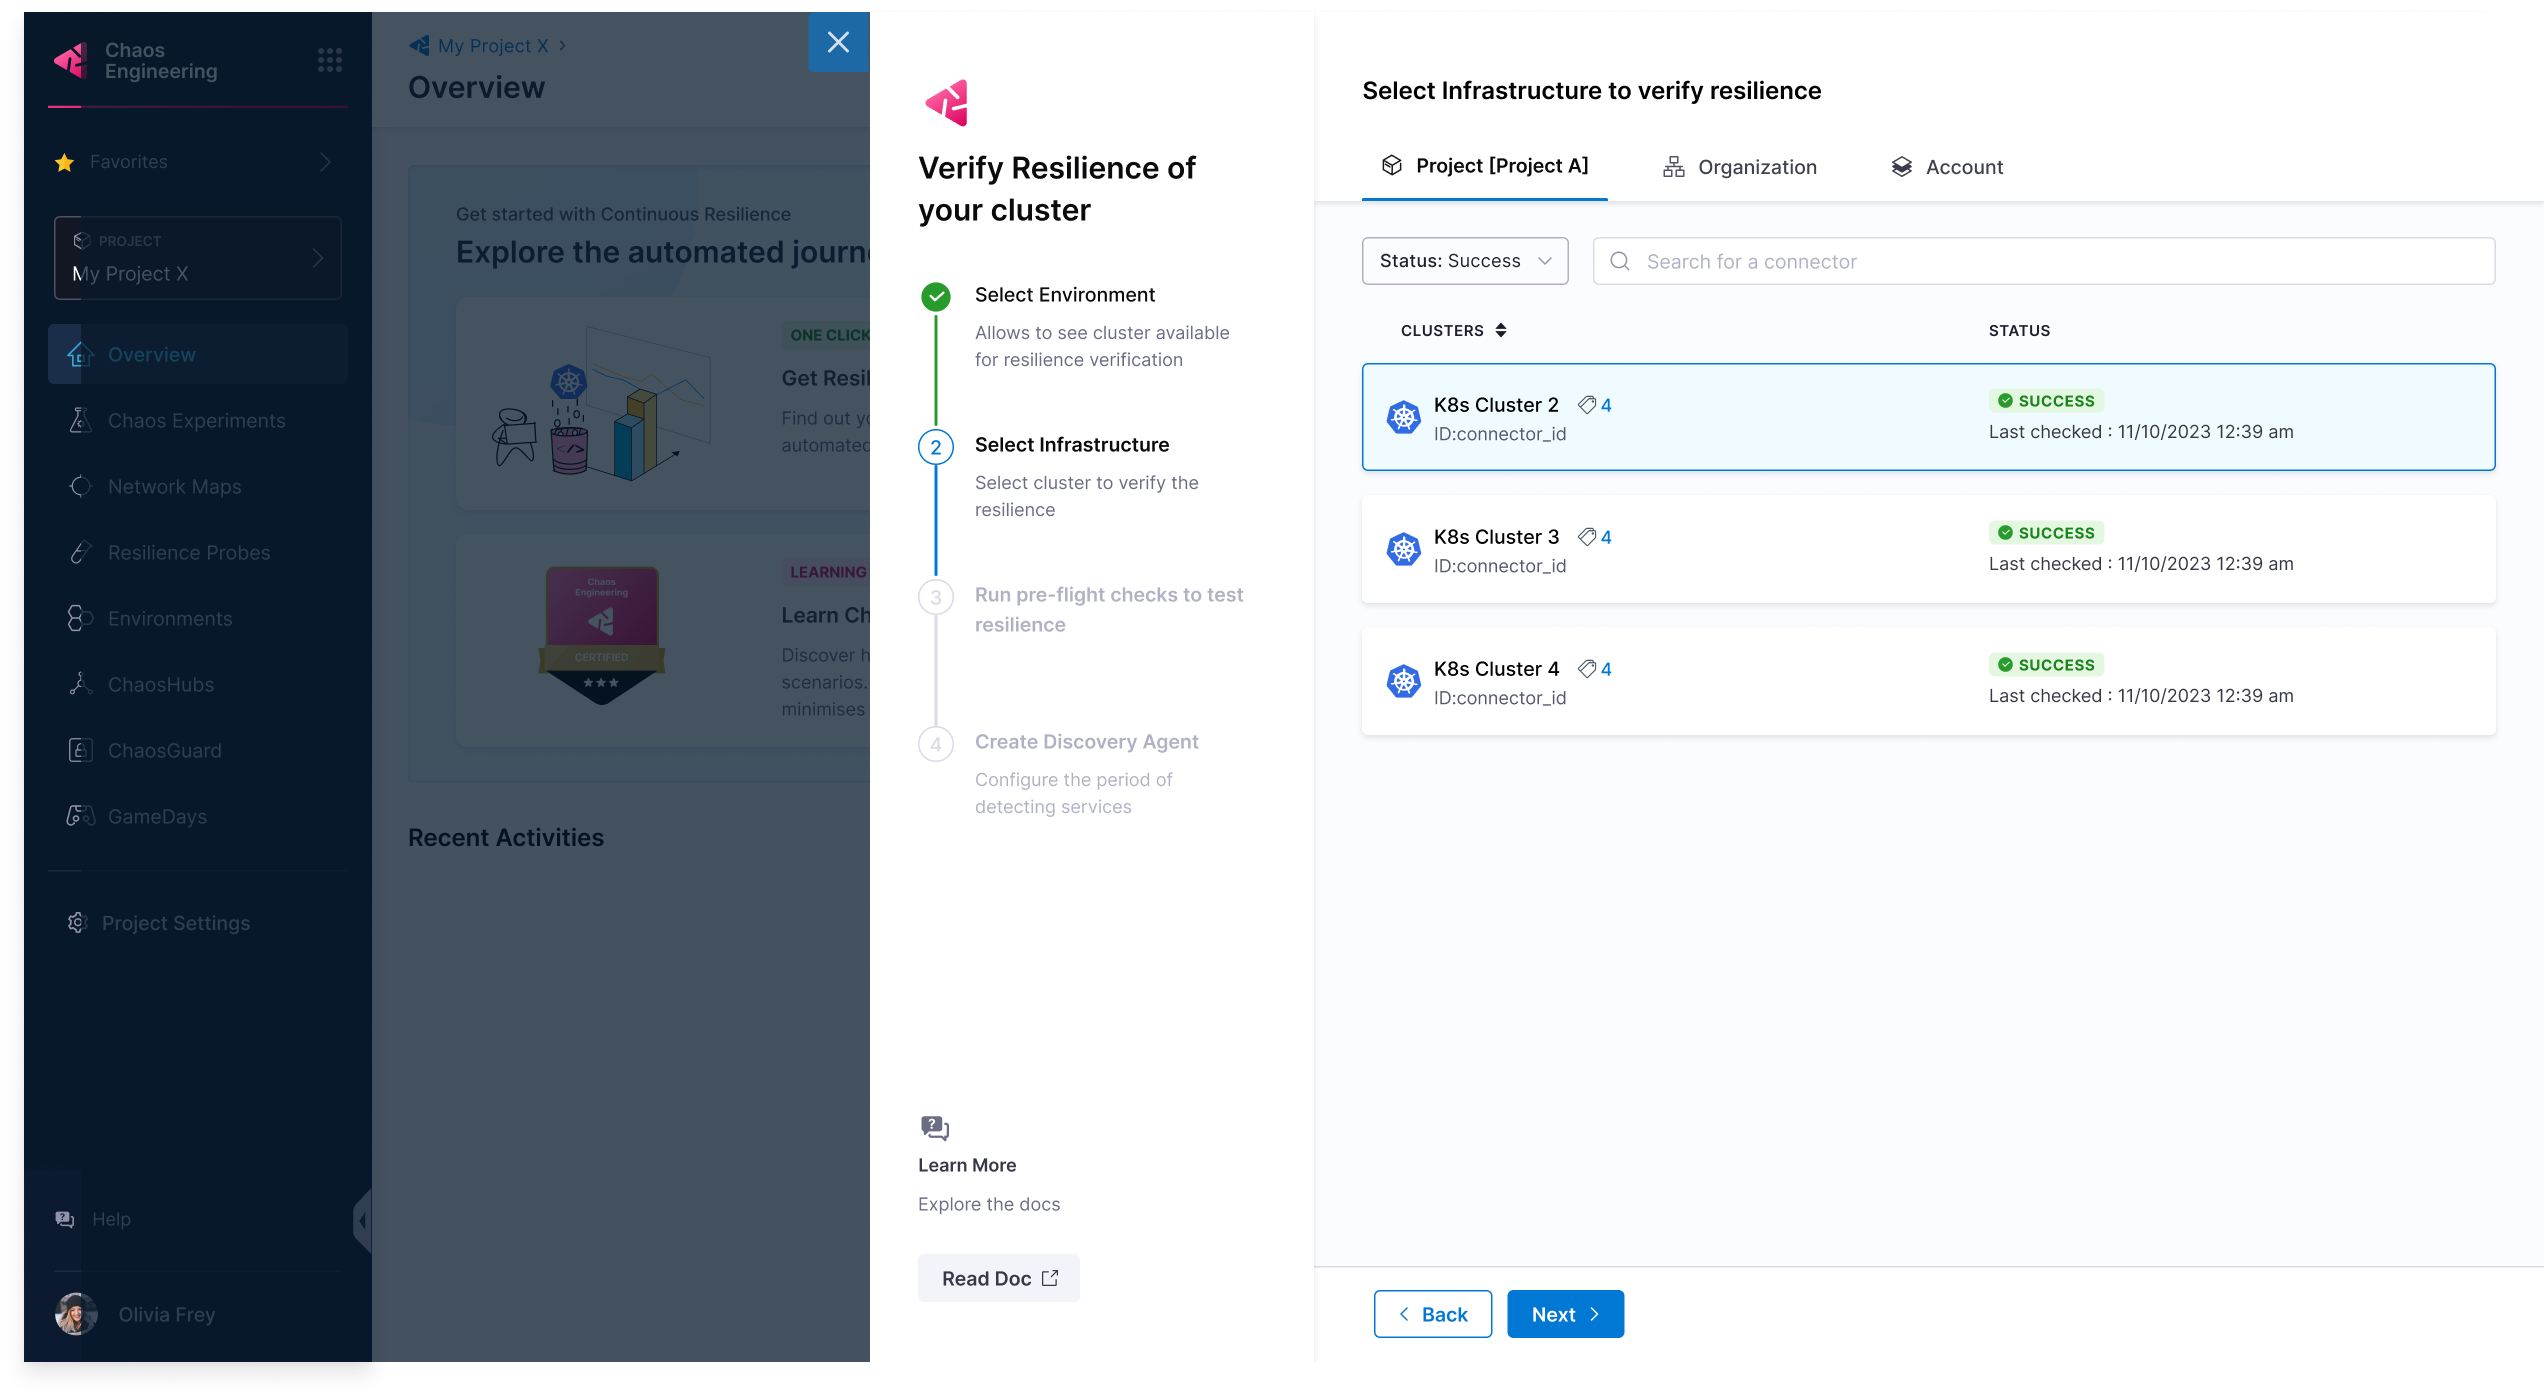
Select an infrastructure
-
Select an infrastructure from the list and select Next.
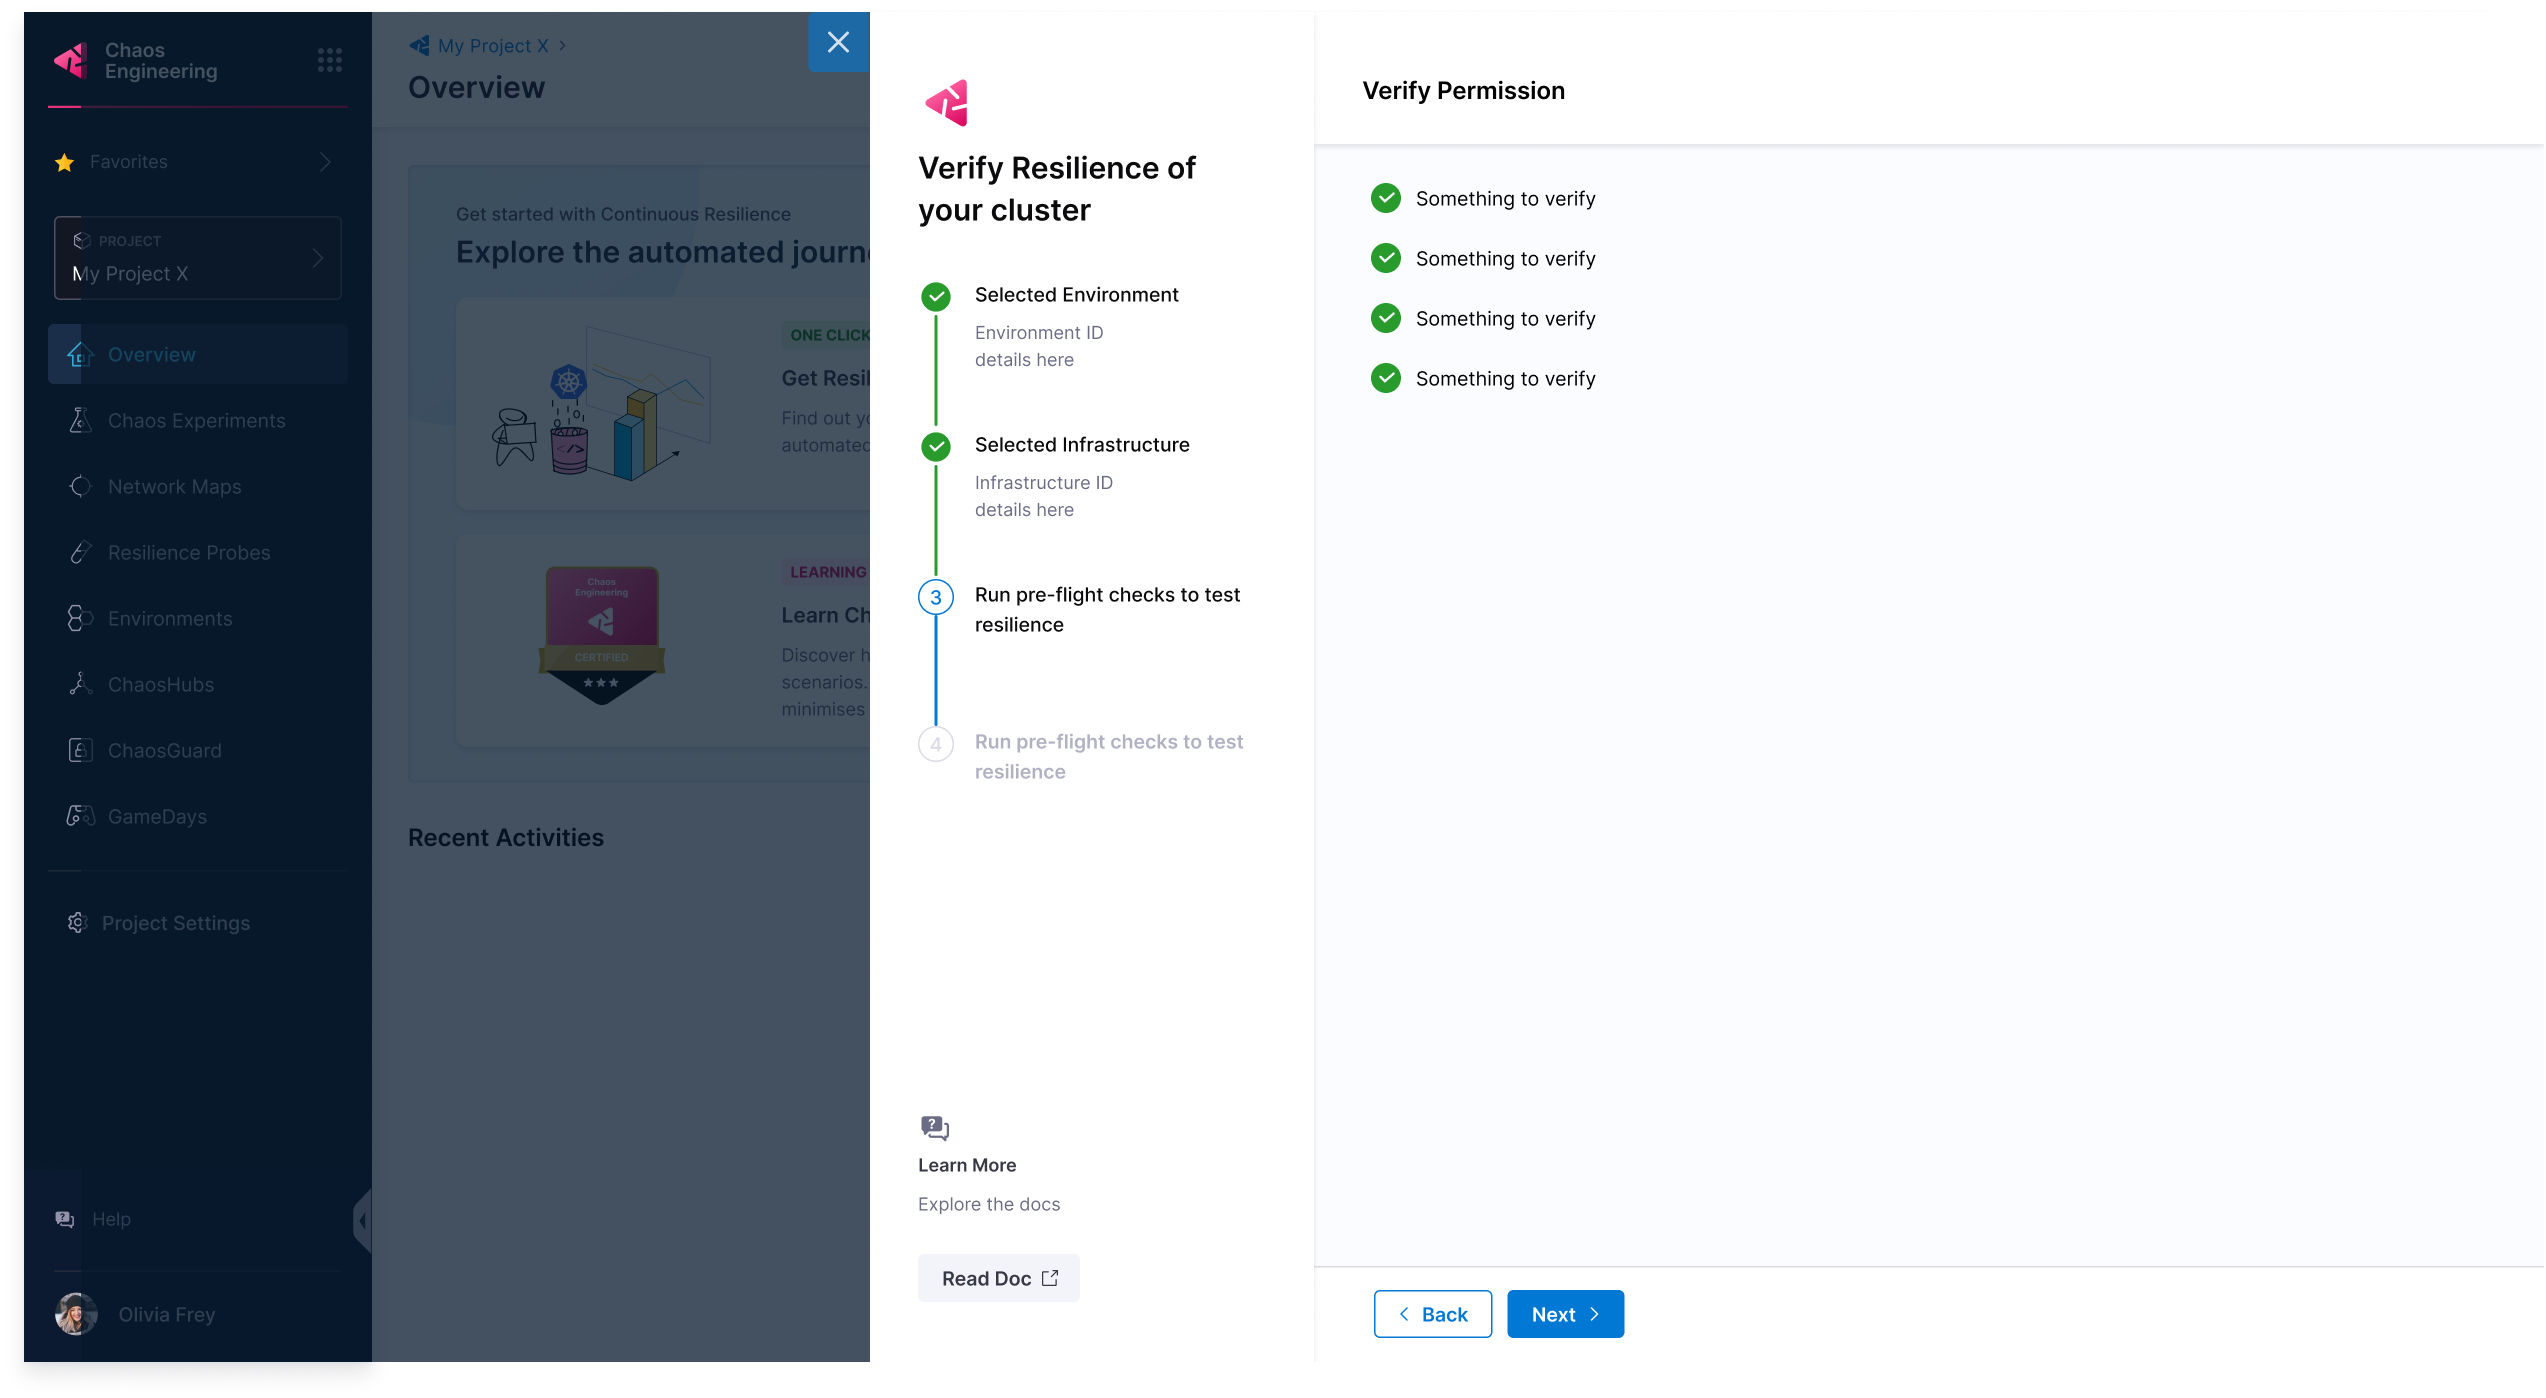
-
The next step verifies some permissions by running pre-configured checks, after which you can select Next.
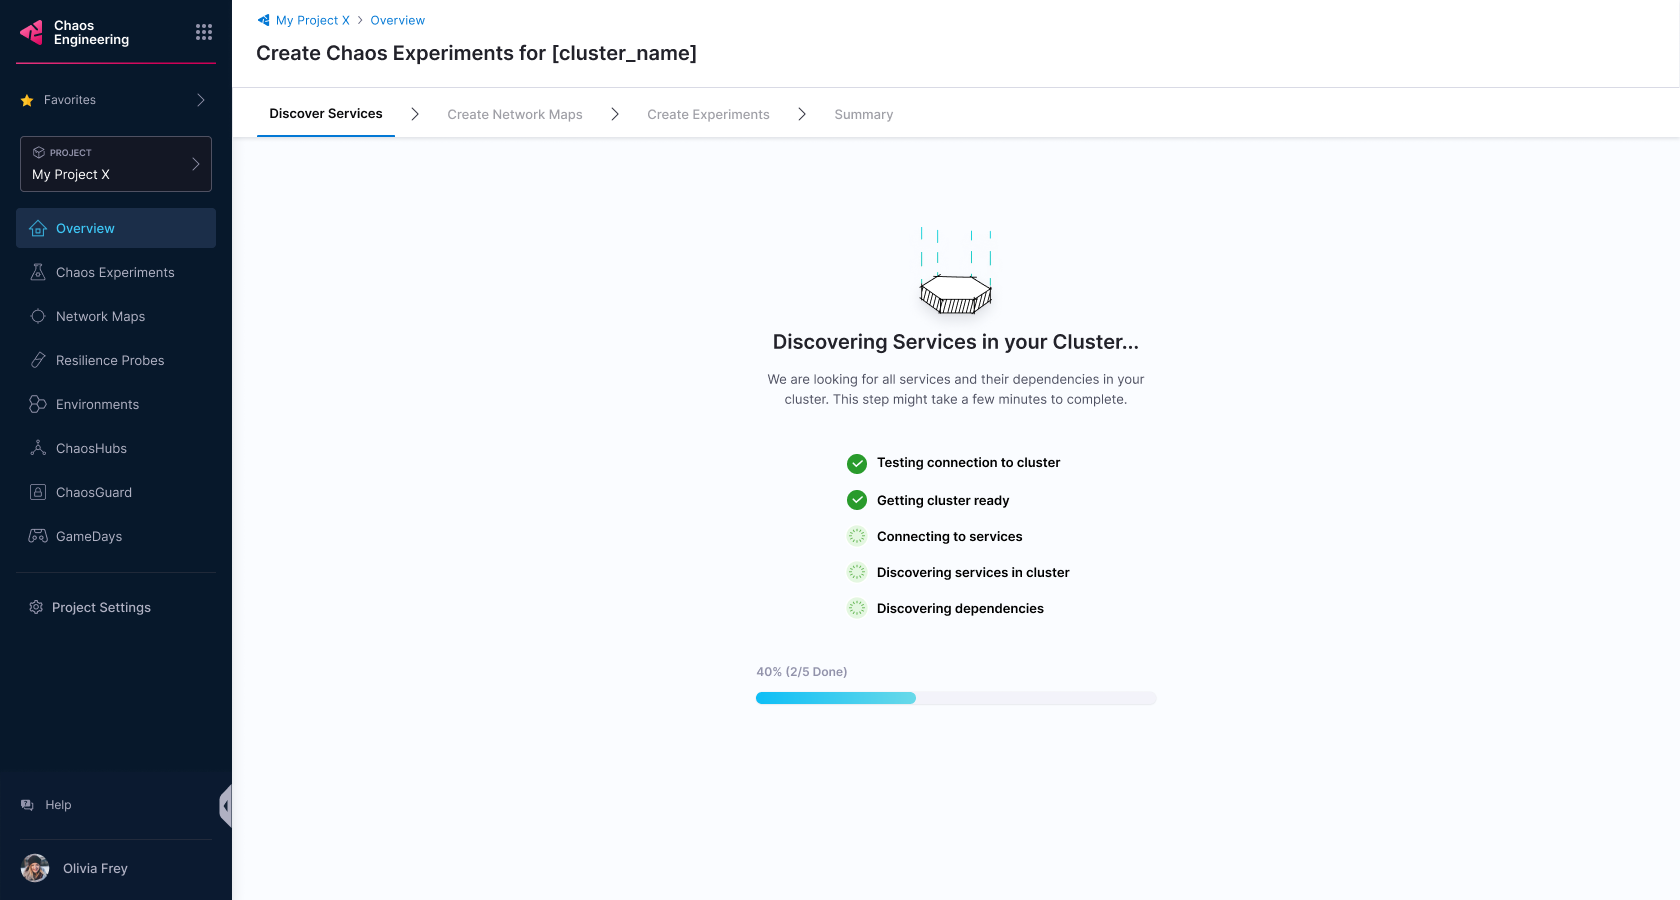
Automatically create Discovery Agent
-
HCE creates the discovery agent that automatically discovers services for your application. The next step (optional) collects information about blocked namespaces, service discovery periods, and so on. To learn how to use a custom discovery agent, go to customize discovery agent.
-
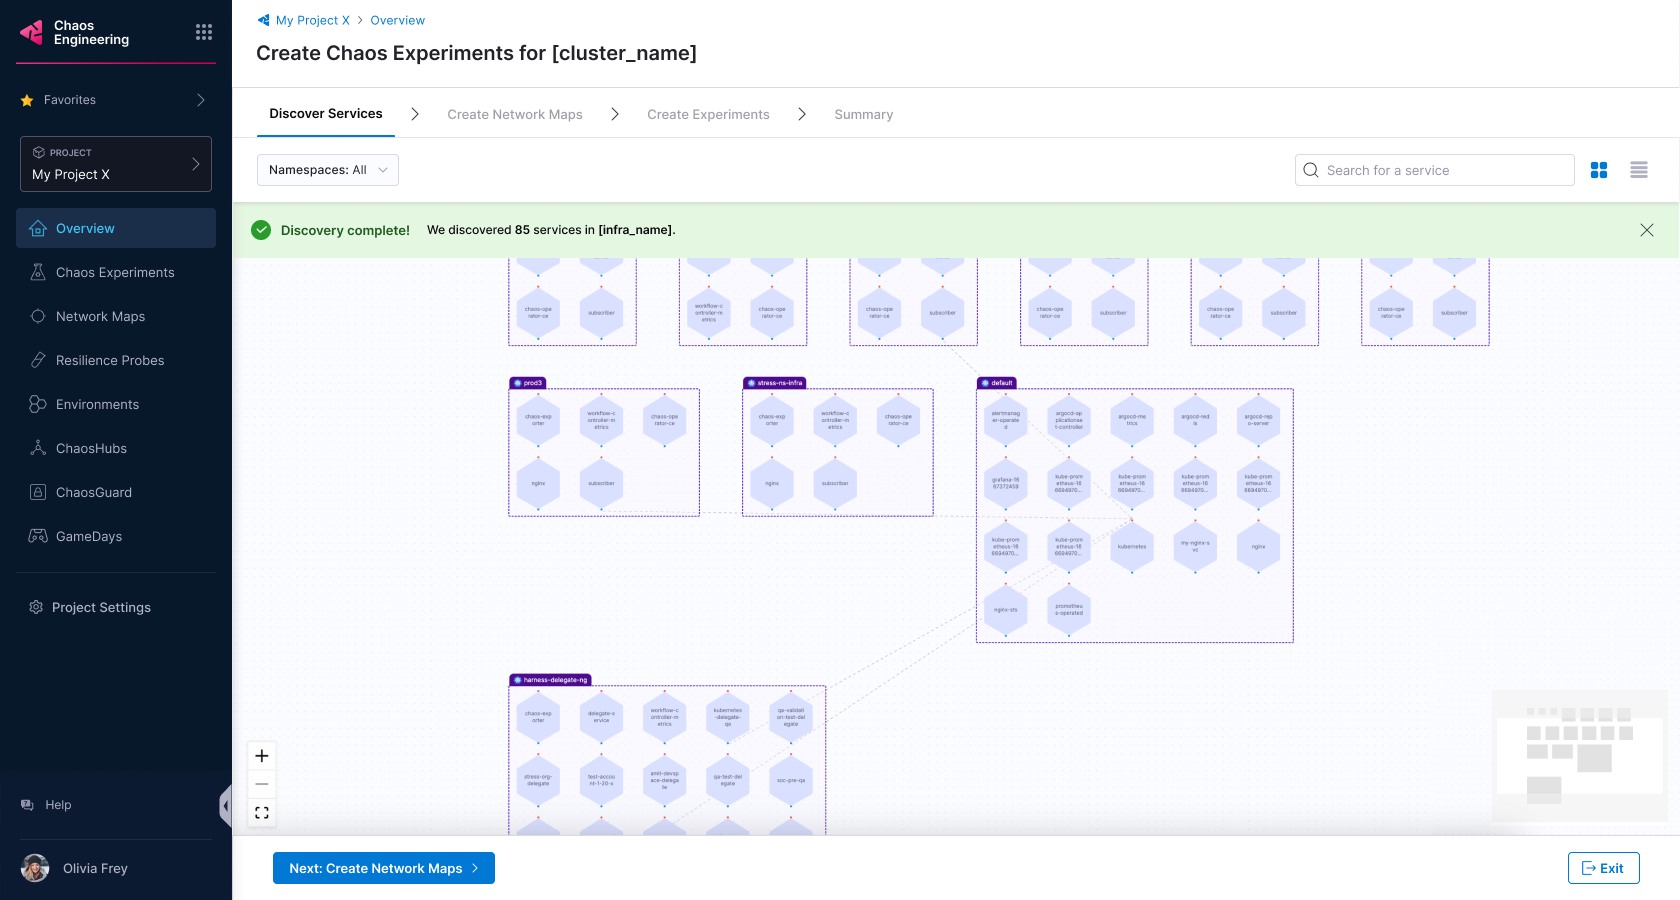
Once you complete the above steps, HCE looks for services in your cluster (which might take a while).
Create Network Maps
-
Once HCE discovers the services, the UI lists them for your reference. Select Create Network Maps.
-
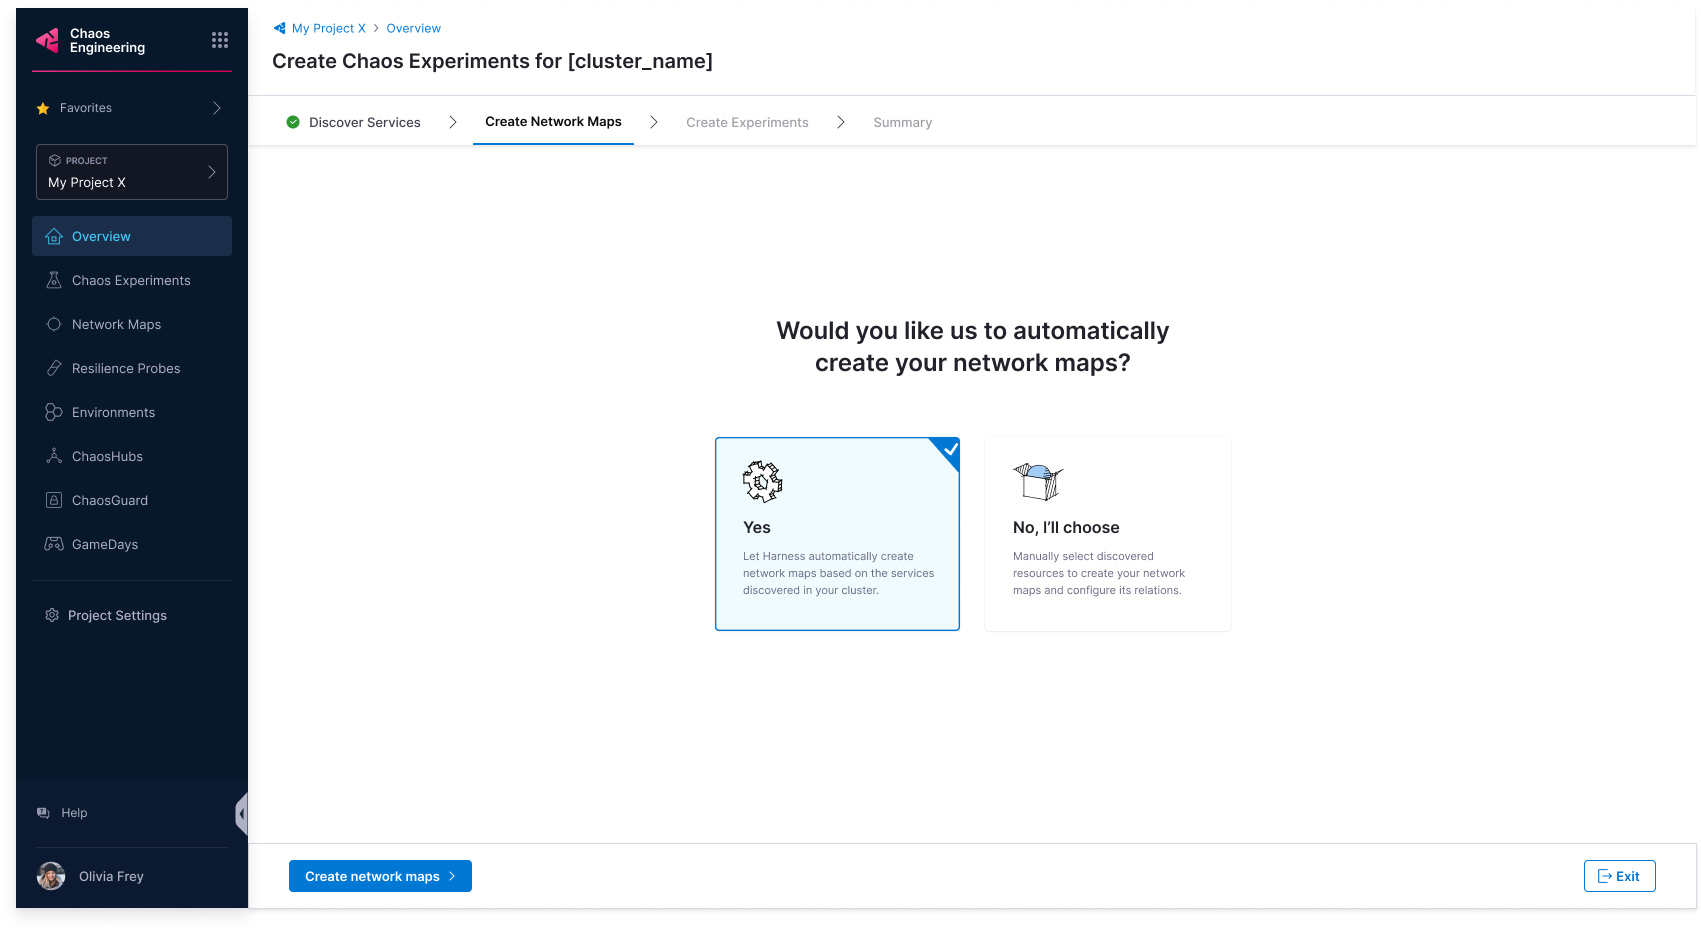
HCE prompts you to select one of the options whether to automatically create network maps or not.
Choose between automatic and customizable network map creation
- Automatic
- Customize
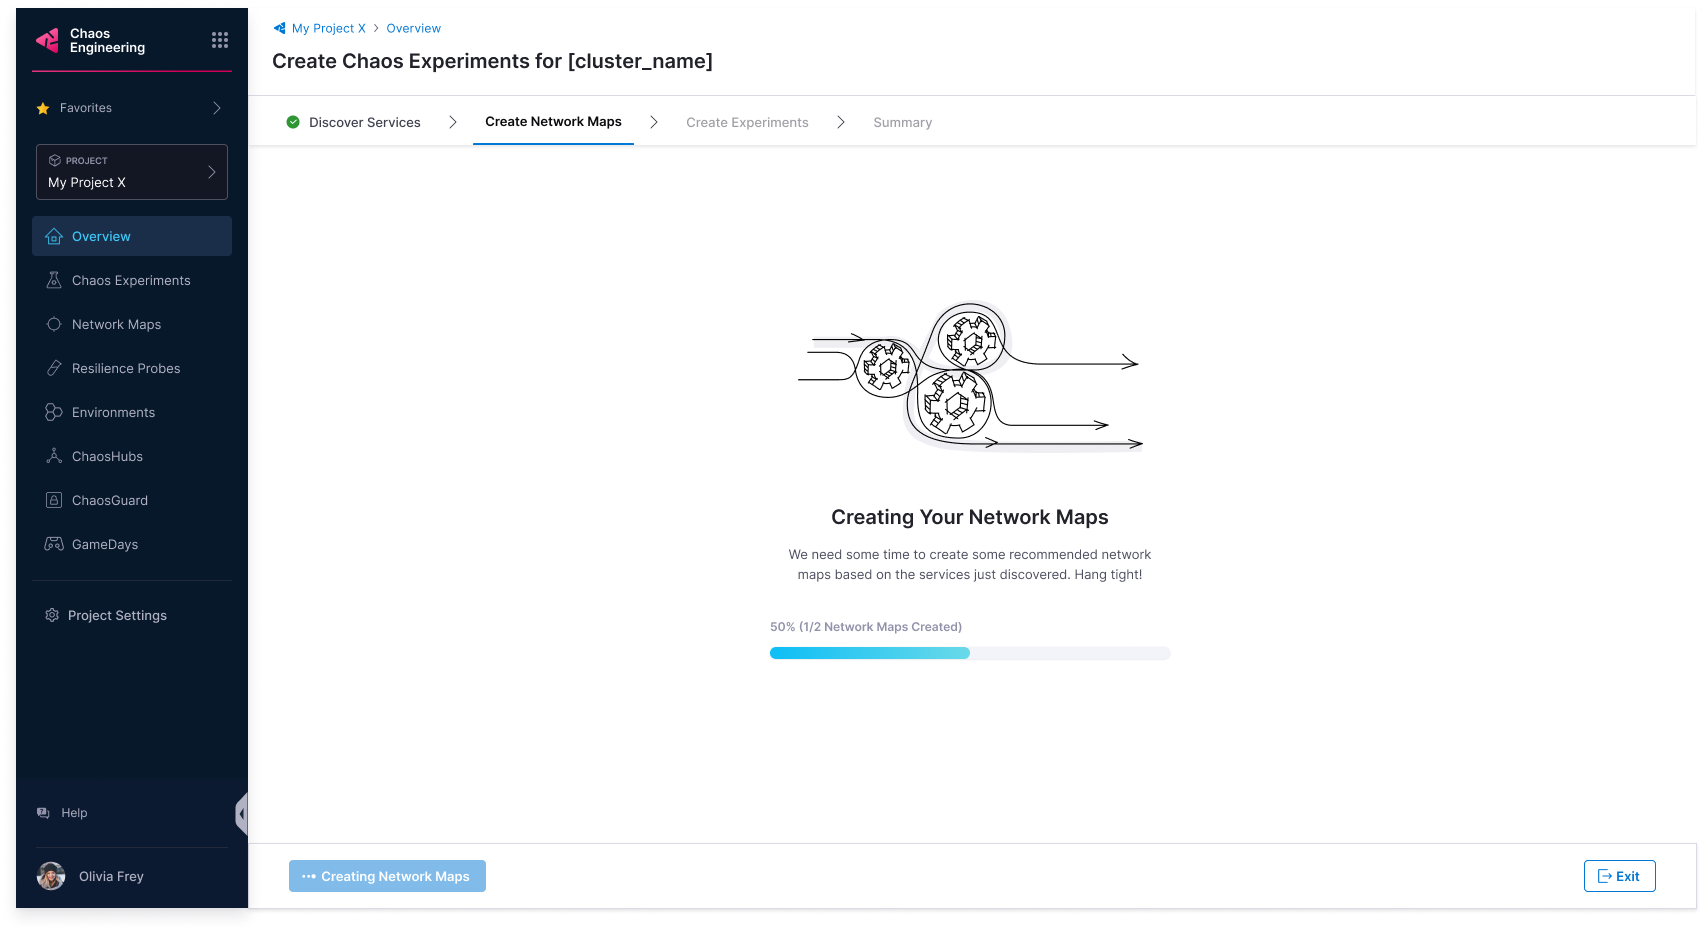
7a. Select Yes to automatically create network maps. Select Create Network Maps.
7b. You will find network map recommendations from HCE based on the discovered services.
7a. Select No, I will choose to customize network map creation and select Create Network Maps.
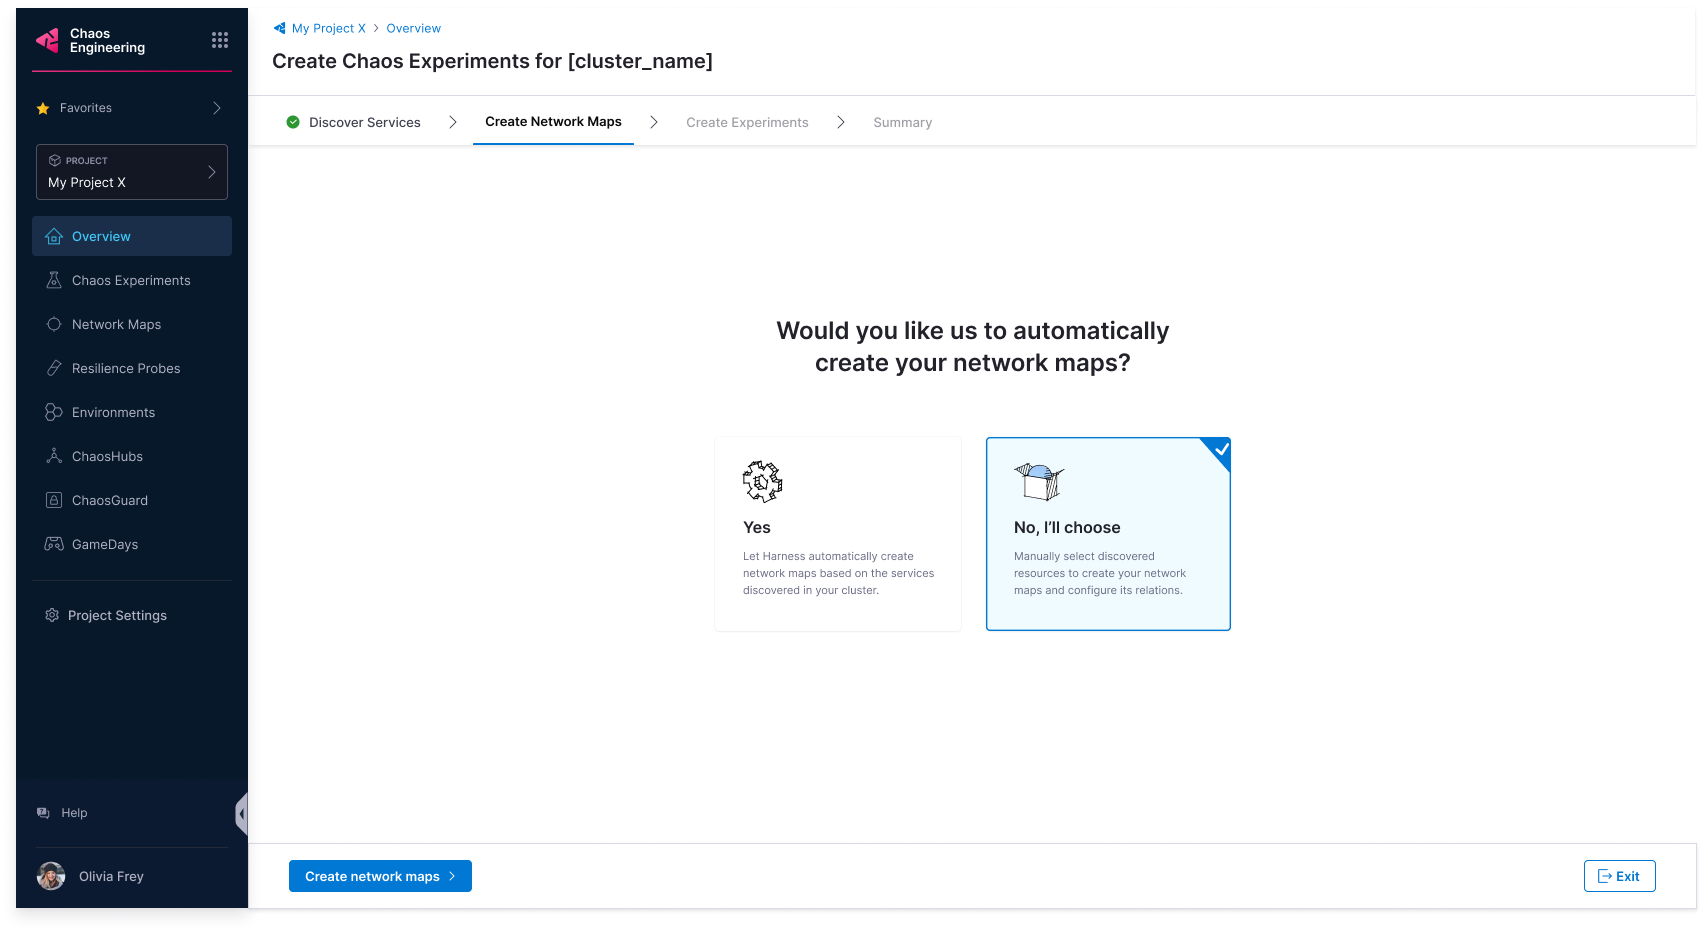
7b. Enter a Network Map Name, Tag (optional), and Description (optional). Select Confirm.
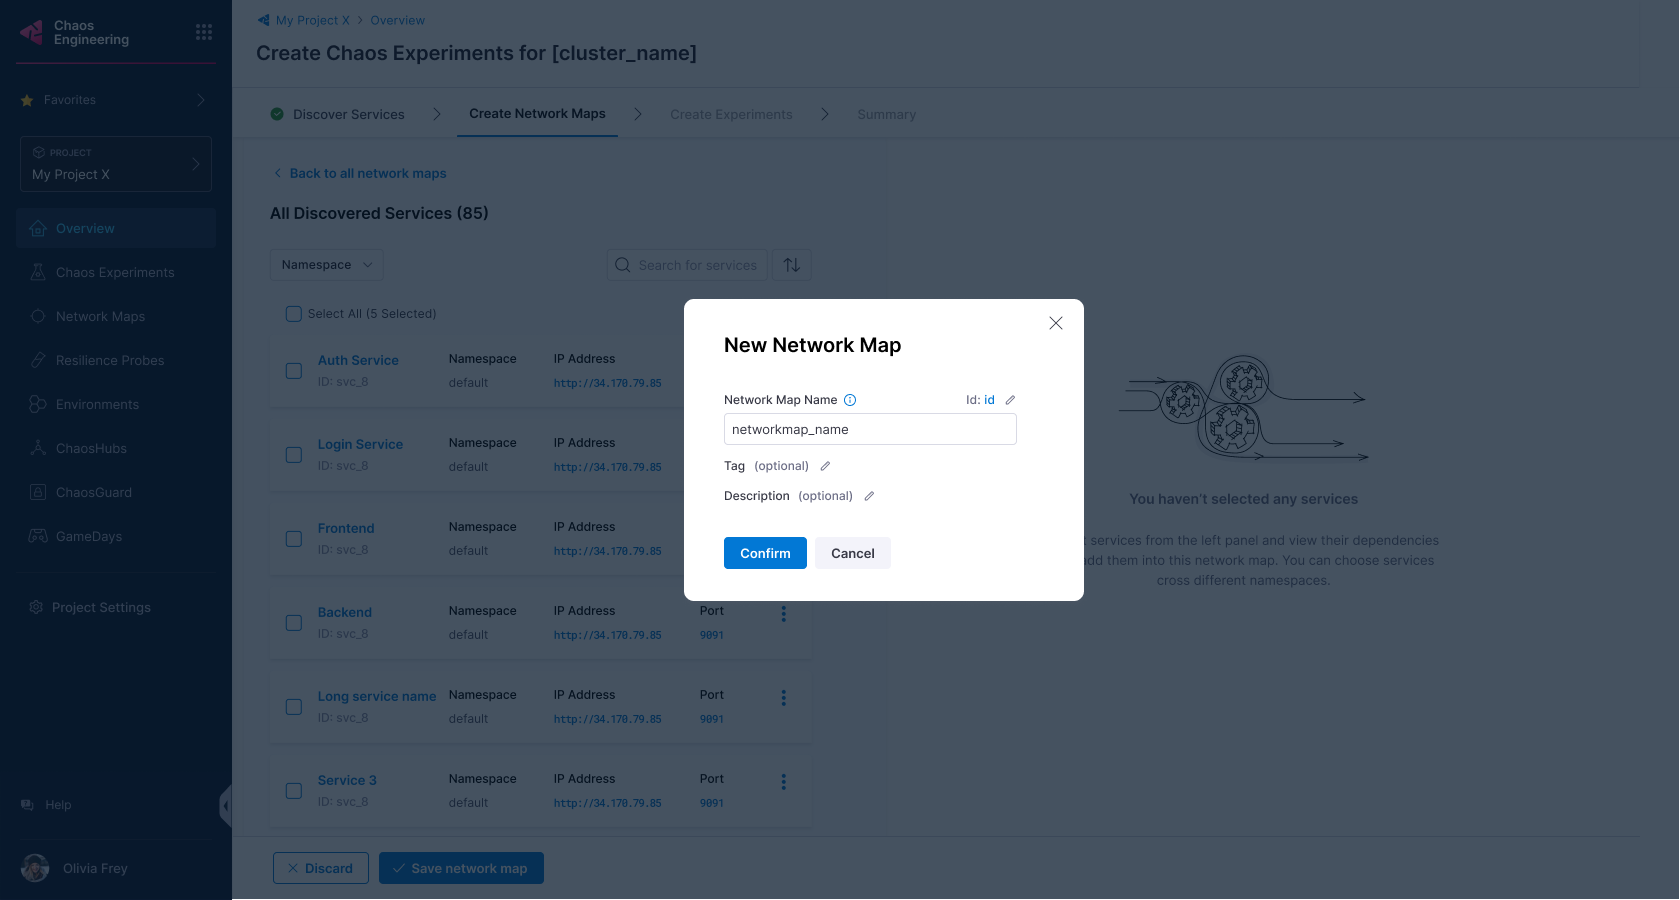
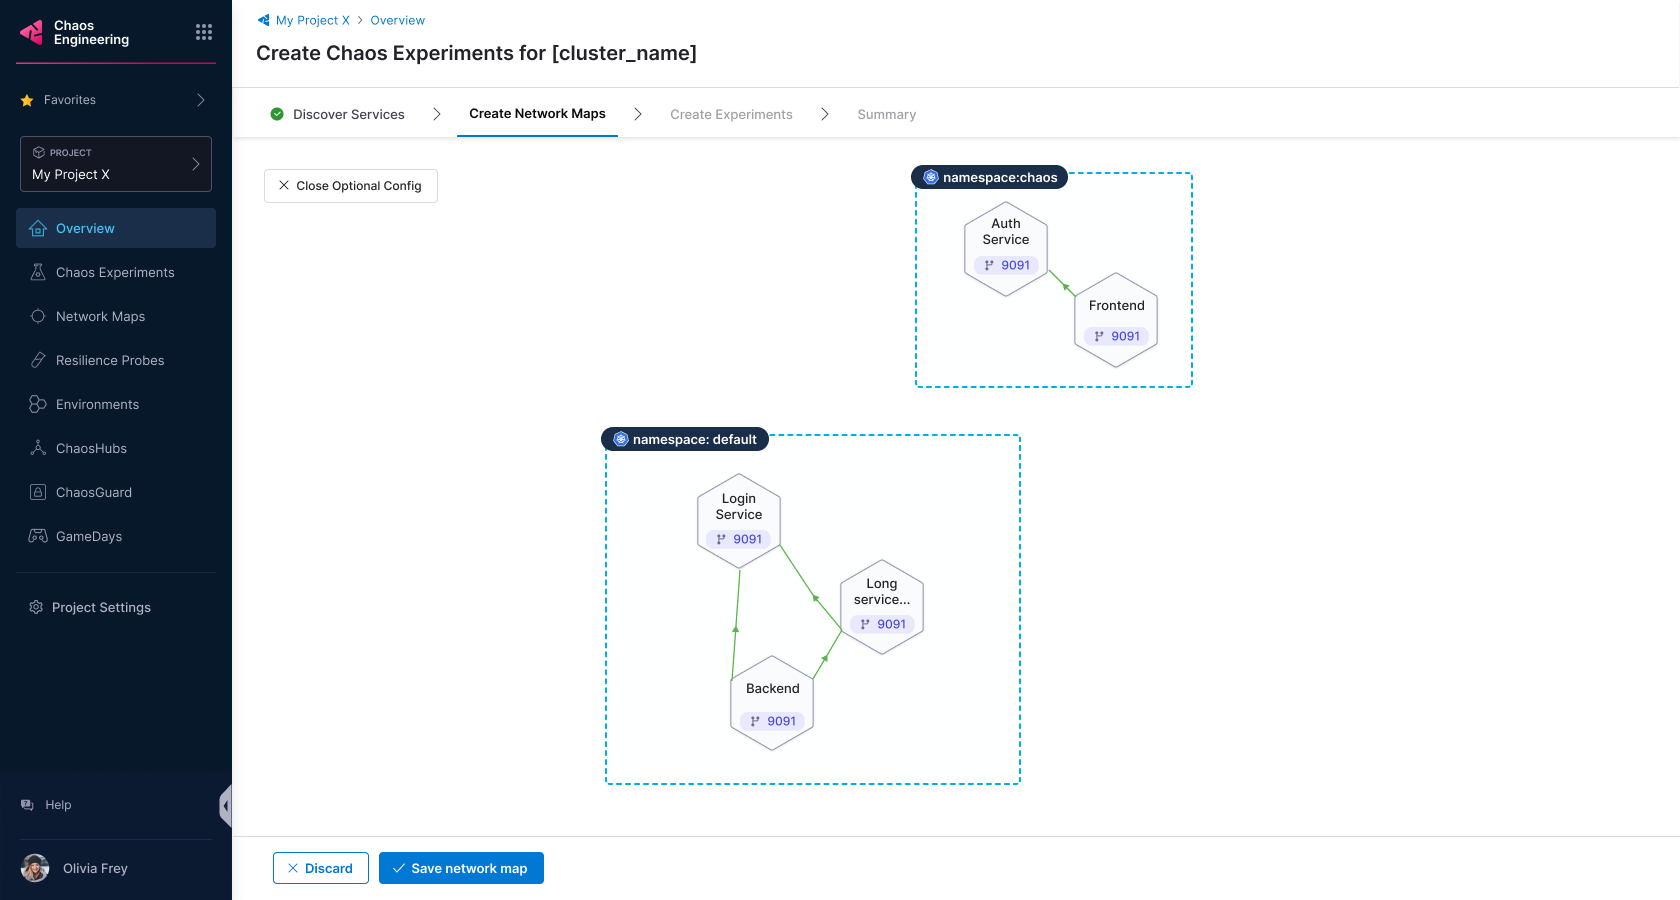
This creates network maps and lists them on the UI.
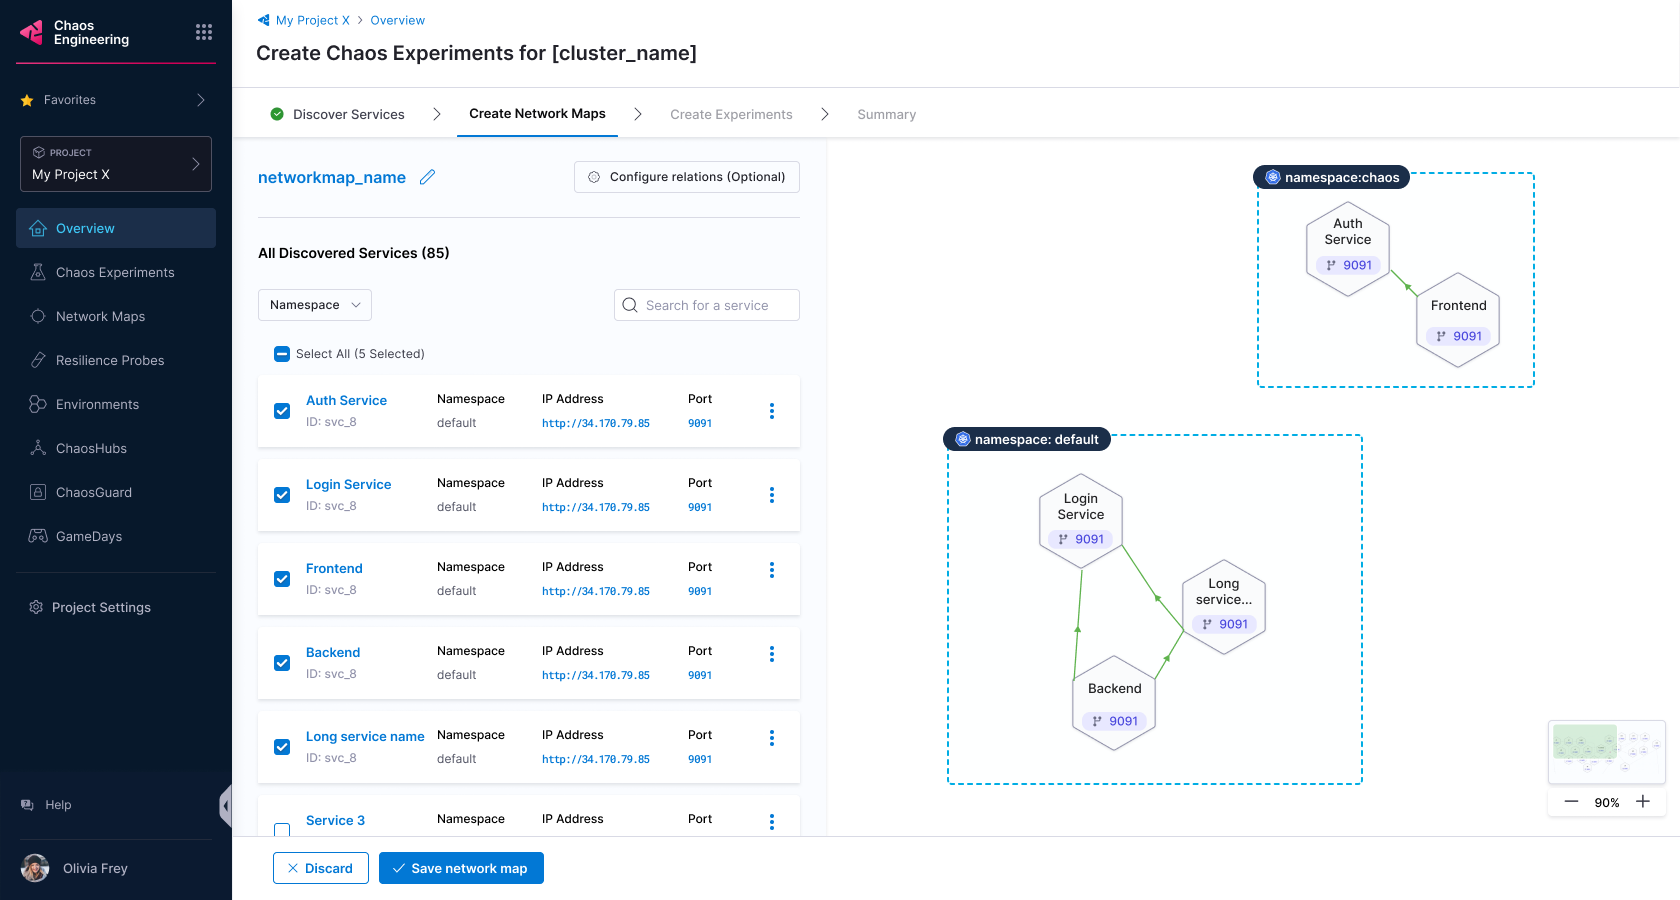
7c. To select and save some or all the created network maps, select Save network map.
Create chaos experiments
-
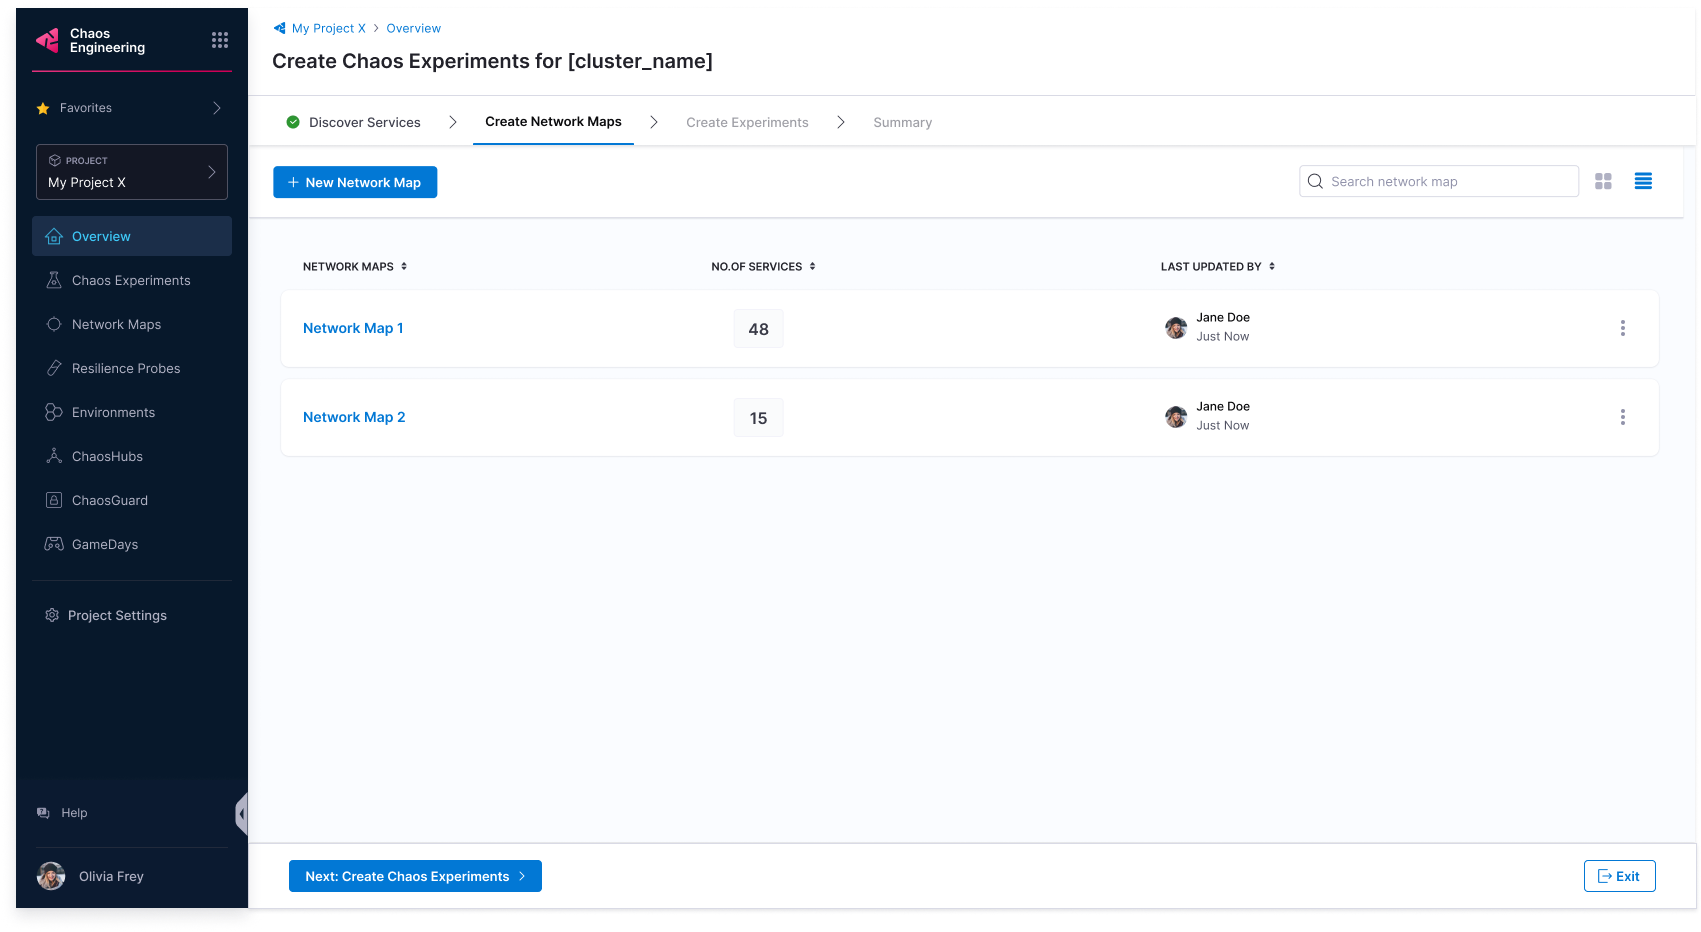
HCE lists the network maps for you to choose from. Choose one and select Next: Create Chaos Experiments.
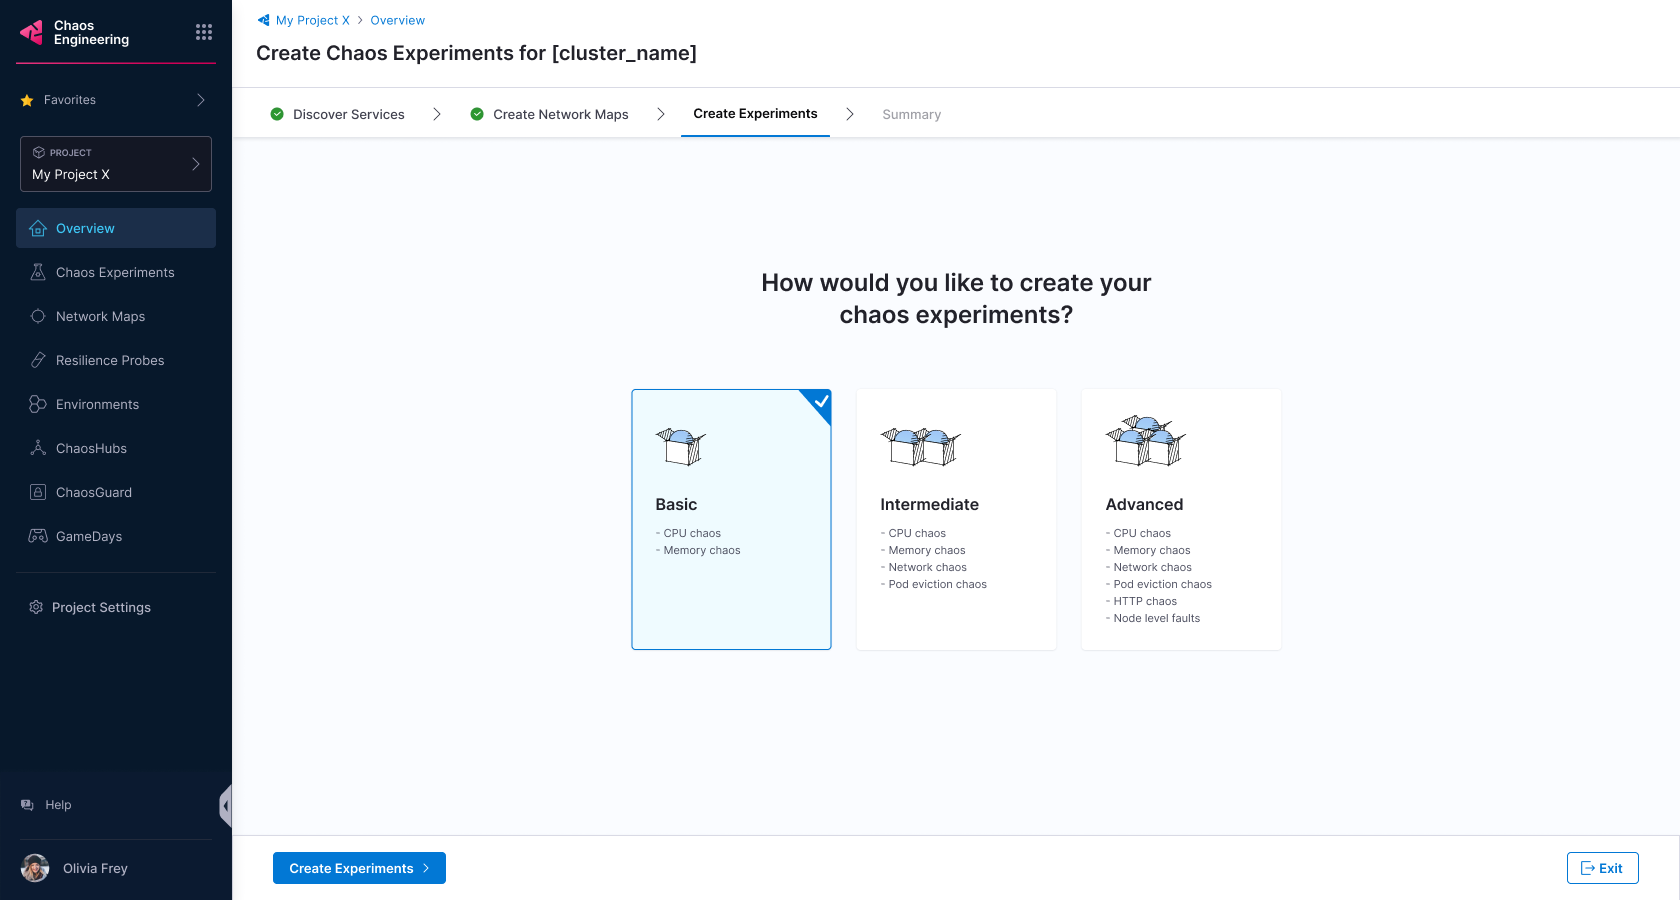
-
You can choose between Basic, Intermediate, and Advanced chaos experiments (categorized based on their blast radius). Select Create Experiments to initiate the process.
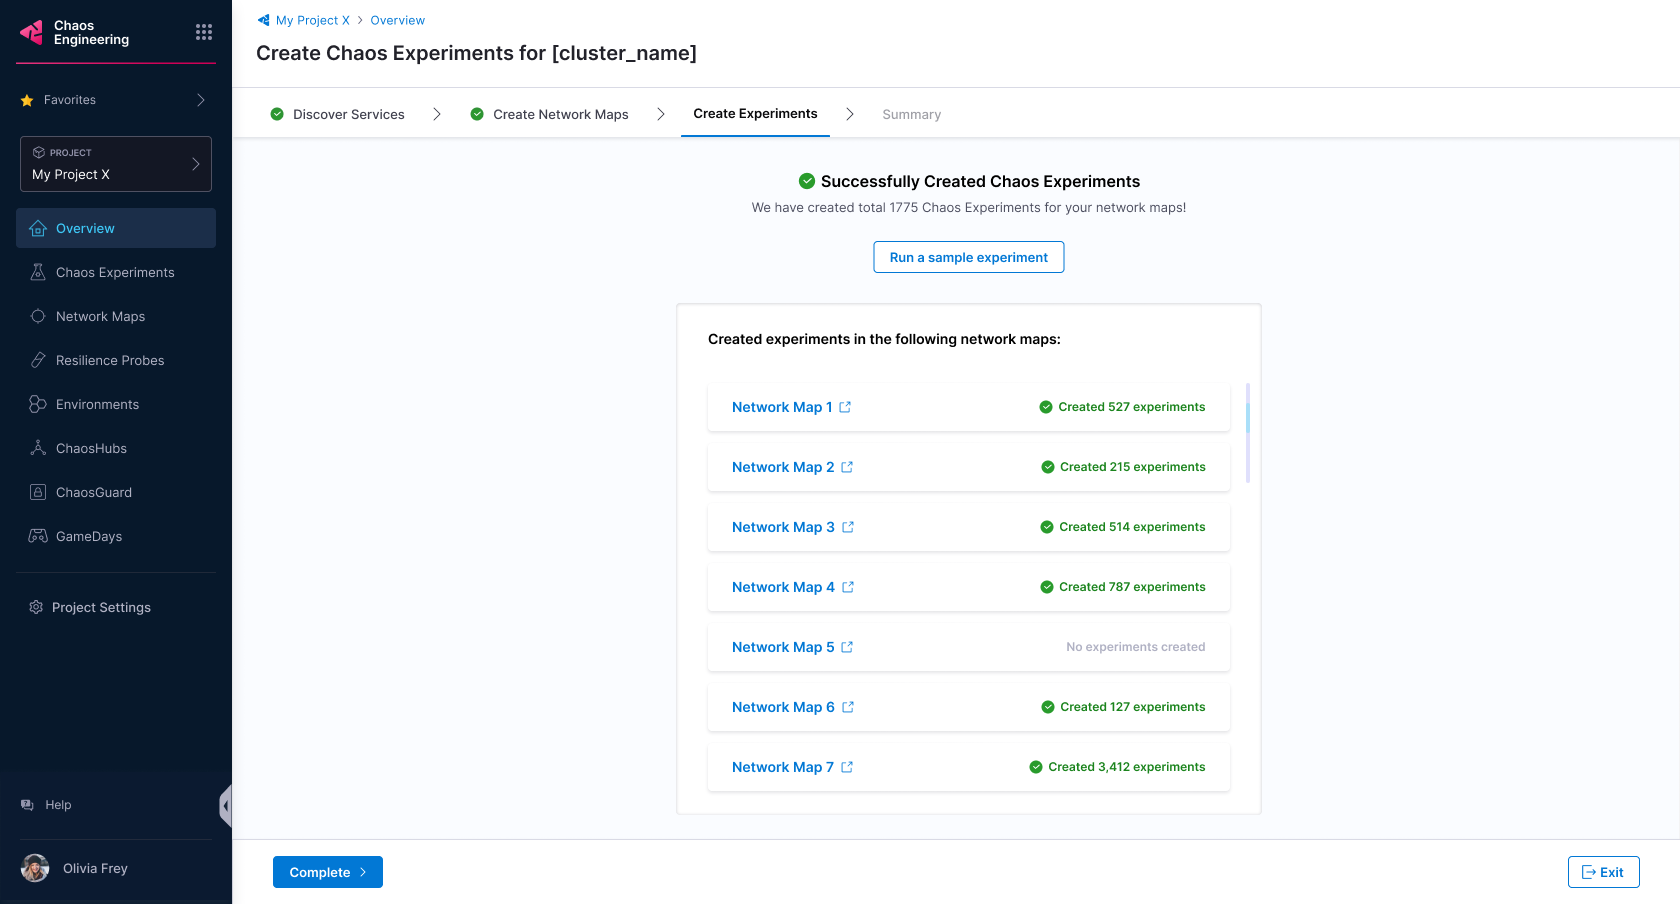
-
Based on your choice, HCE creates chaos experiments and lists the network maps associated with the experiments on the UI. Select Complete or Exit.
Execute chaos experiments
-
Select Run to execute the chaos experiments.

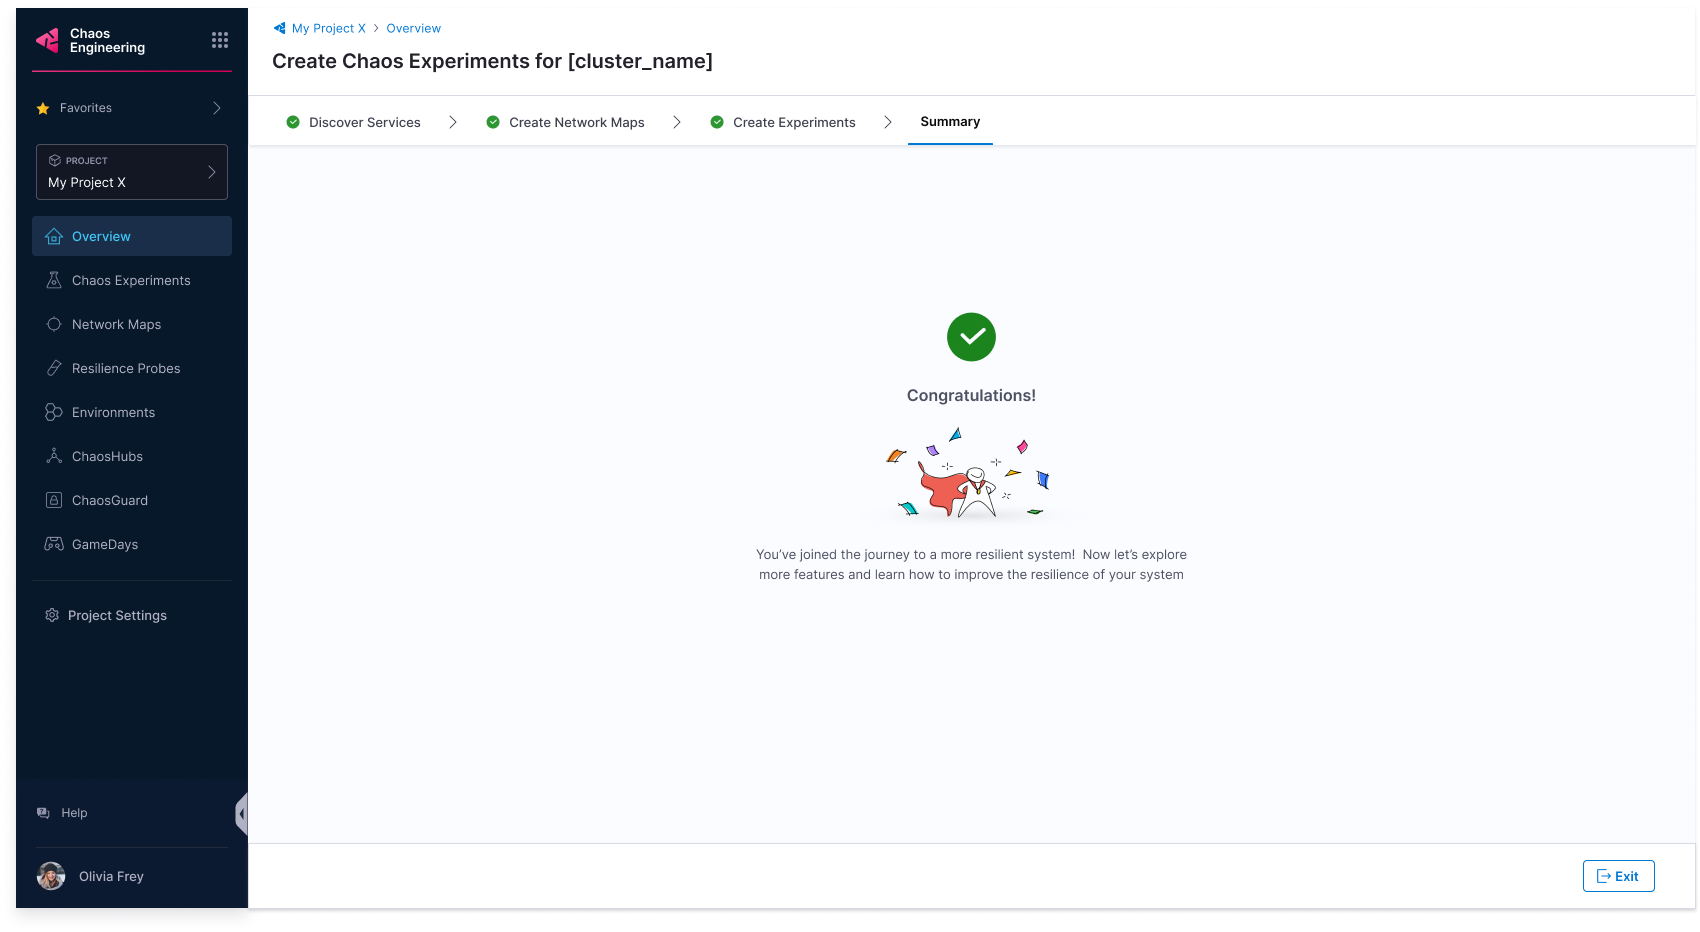
Congratulations! You have successfully:
- Discovered services
- Created network maps
- Created chaos experiments
- Executed the chaos experiments
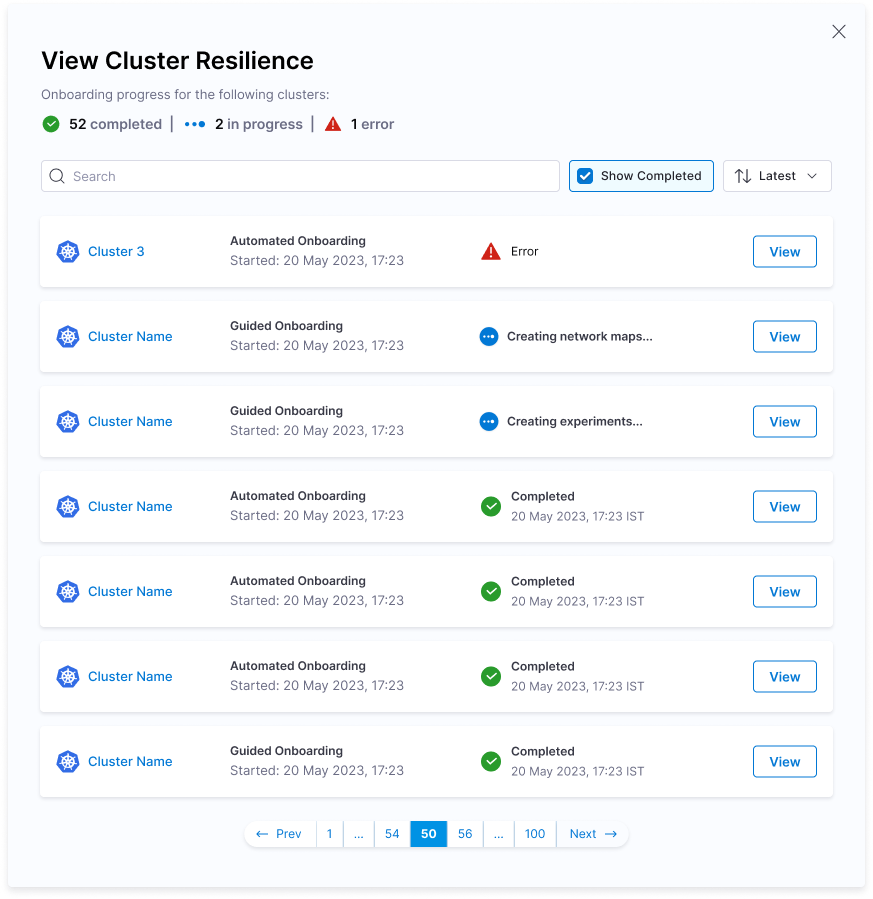
View resilience score
-
Once the experiments you selected complete their execution, you can see the resilience score of these experiments.
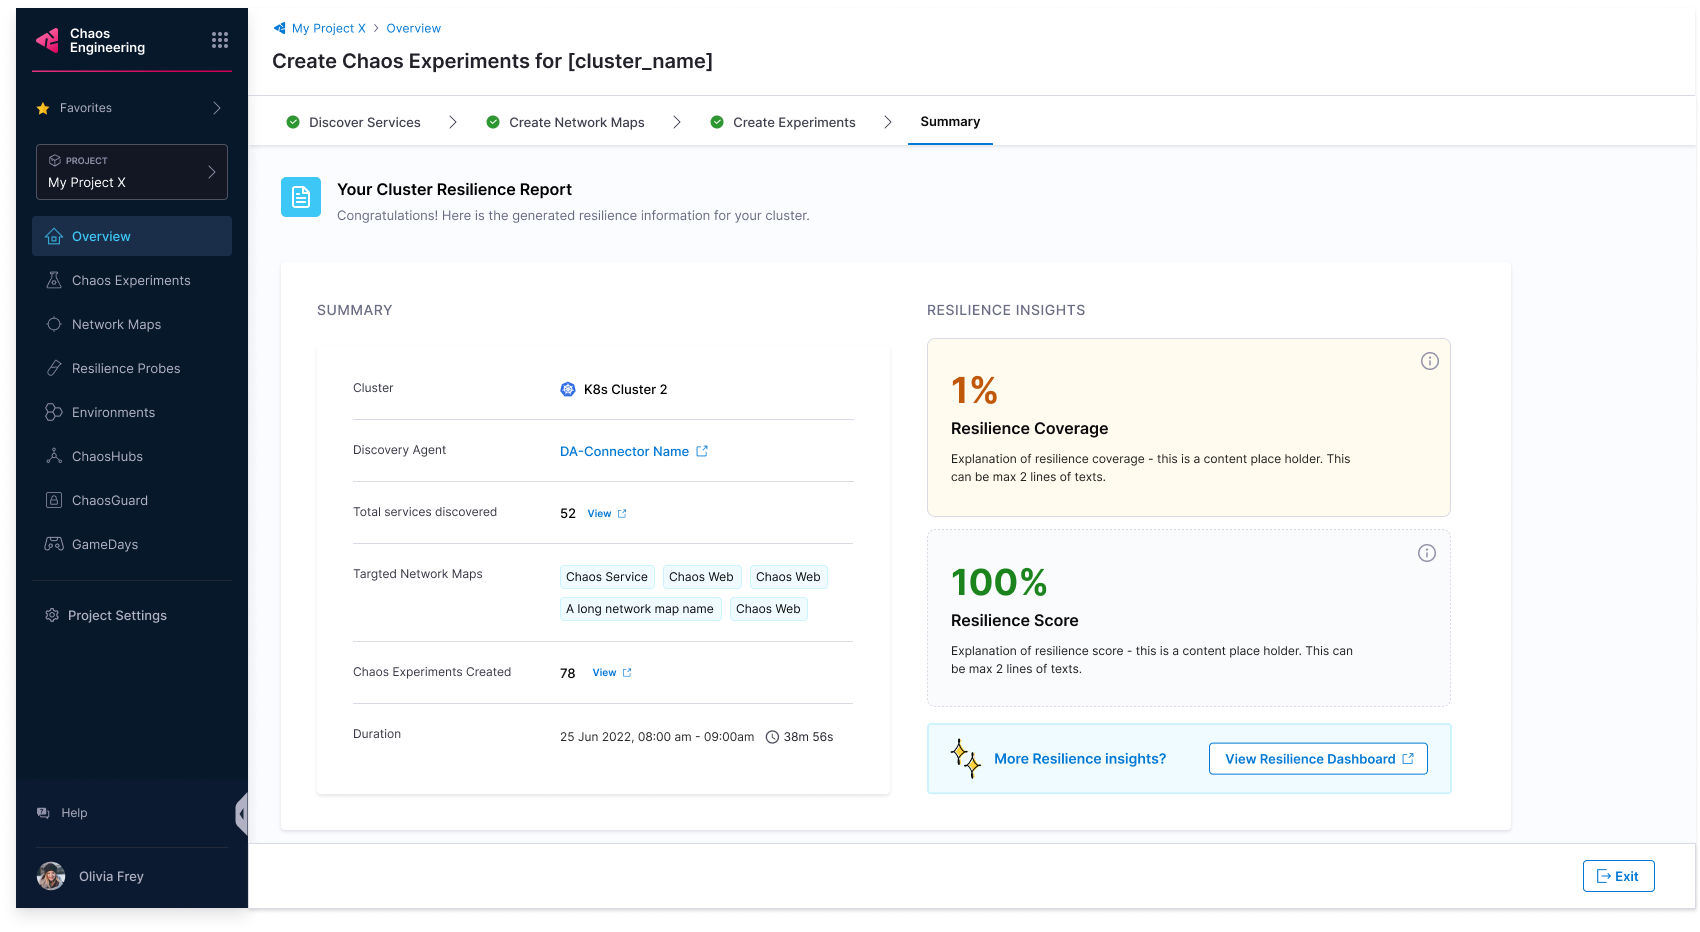
-
You can check the resilience summary once you fulfill the checklist requirements.
-
You can select View to see the progress of different clusters executing various chaos experiments.
Next steps
Don't forget to check other walkthroughs! Some of them are listed below.