Harness Self-Managed Enterprise Edition Onboarding Guide
This topic provides an architecture overview, installation links, and the basics on how to create a Harness account and your first project. Perform these tasks soon after you install Harness Self-Managed Enterprise Edition, before you move on to other configuration tasks.
To install Harness Self-Managed Enterprise Edition in a Kubernetes cluster with Helm, go to Install Harness Self-Managed Enterprise Edition Using Helm.
Architecture overview
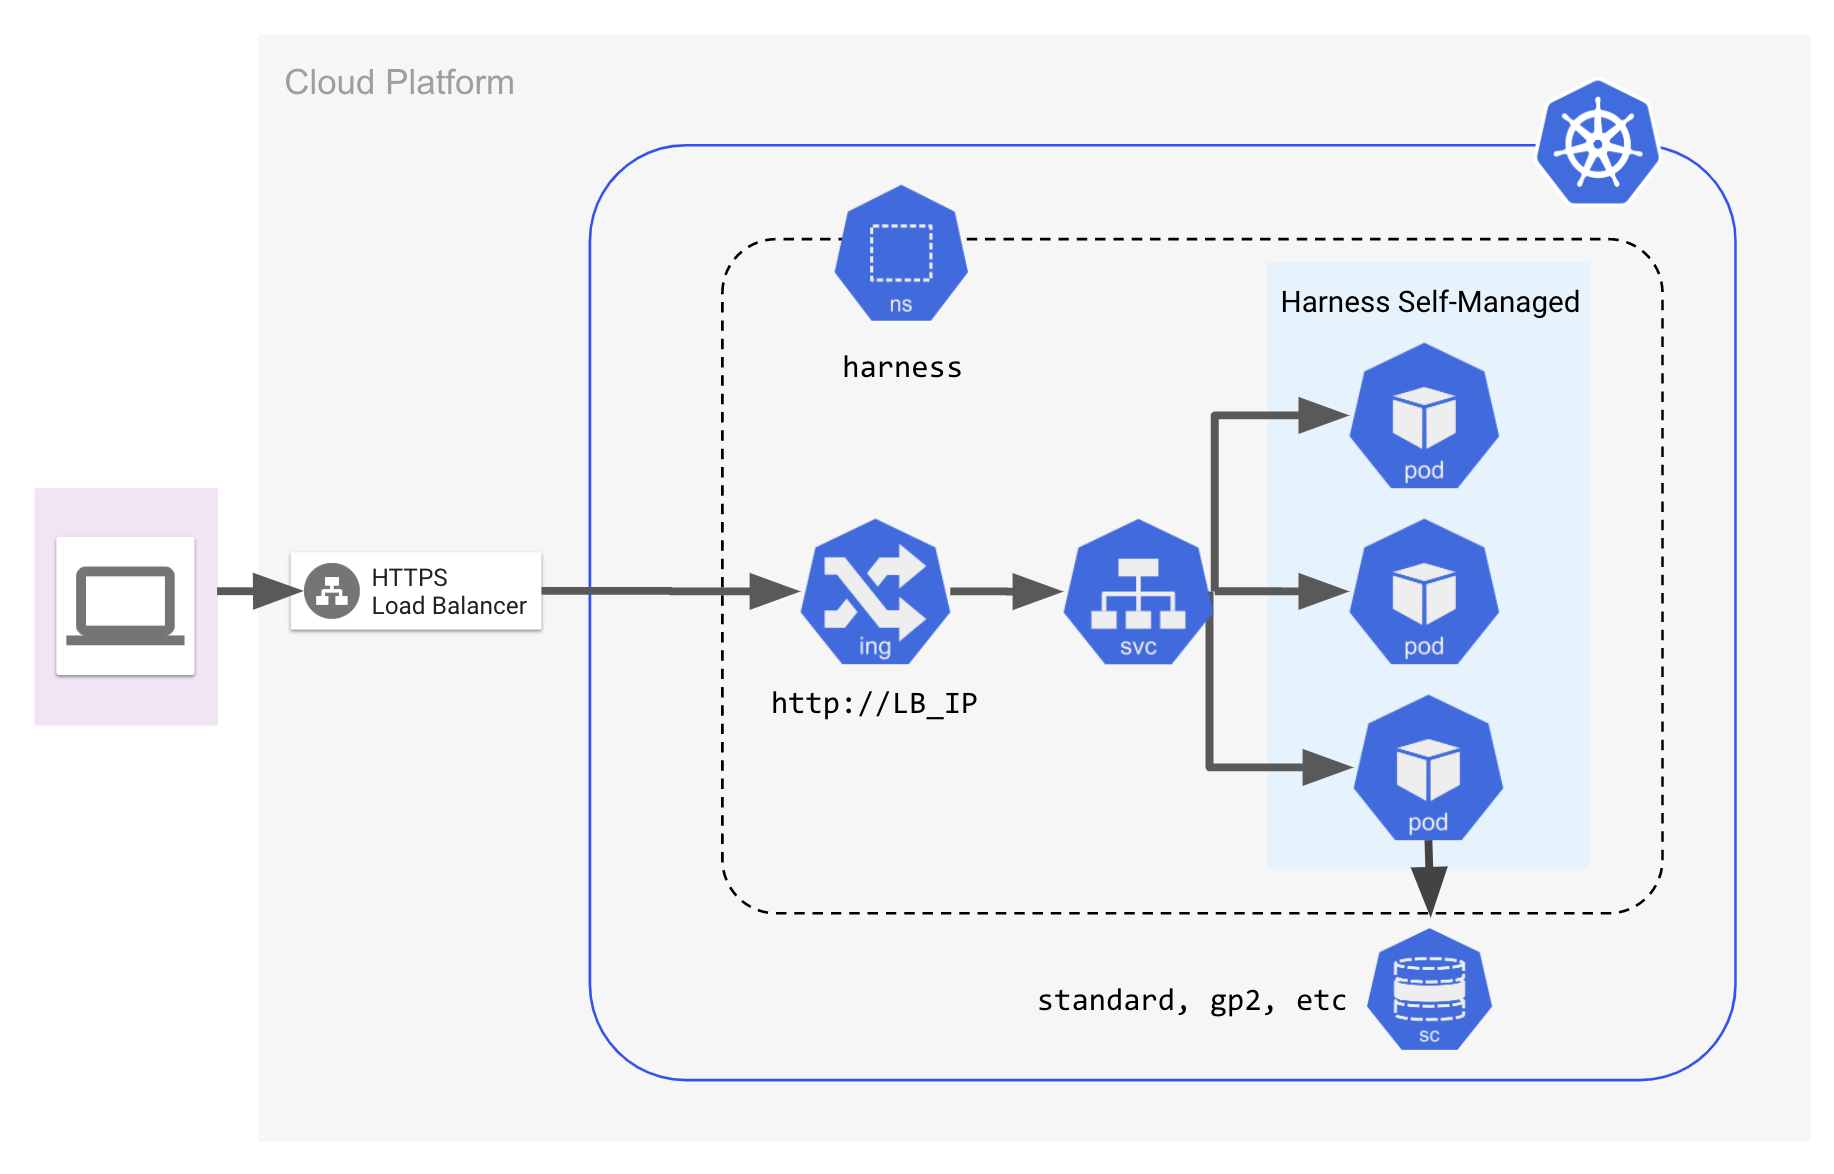
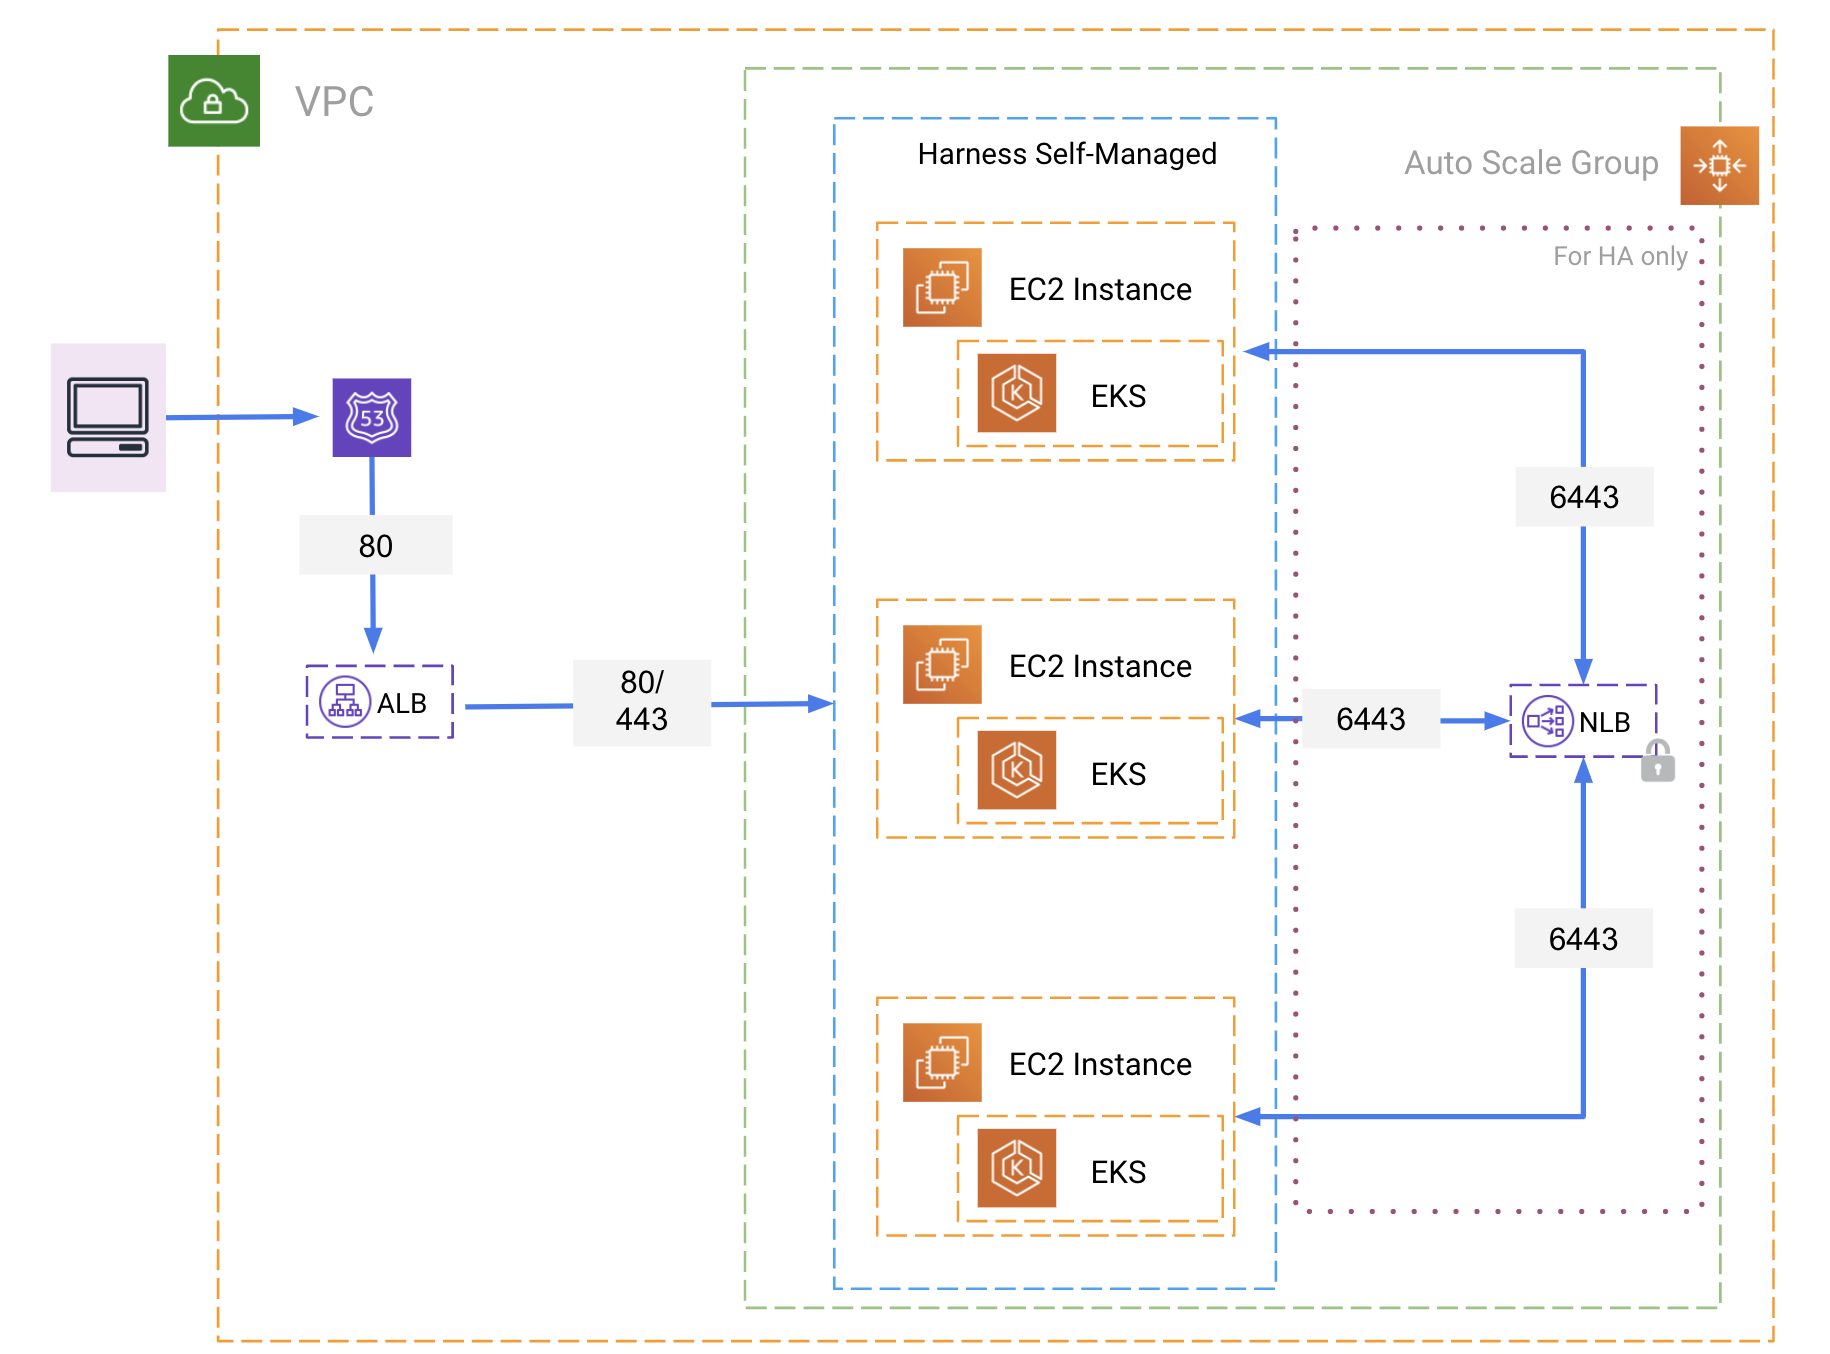
You can install Harness Self-Managed Enterprise Edition in a Kubernetes cluster or on virtual machines.
Review the following diagrams for your installation type.
Kubernetes cluster configuration
Harness Self-Managed Enterprise Edition is installed in a Kubernetes cluster in the following configuration.
AWS architecture
Create your Harness account
You create your Harness account the first time you use Harness Self-Managed Enterprise Edition. You are automatically assigned the Harness user role, Account Admin.
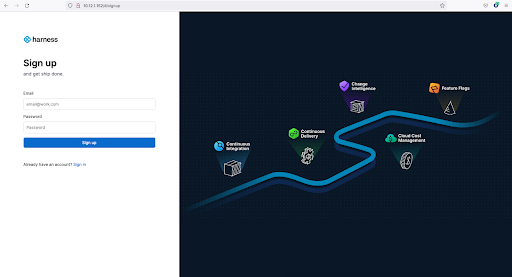
To create your Harness account, do the following:
-
On the Harness Sign up page, enter your email address and a secure password.
-
Select Sign up.
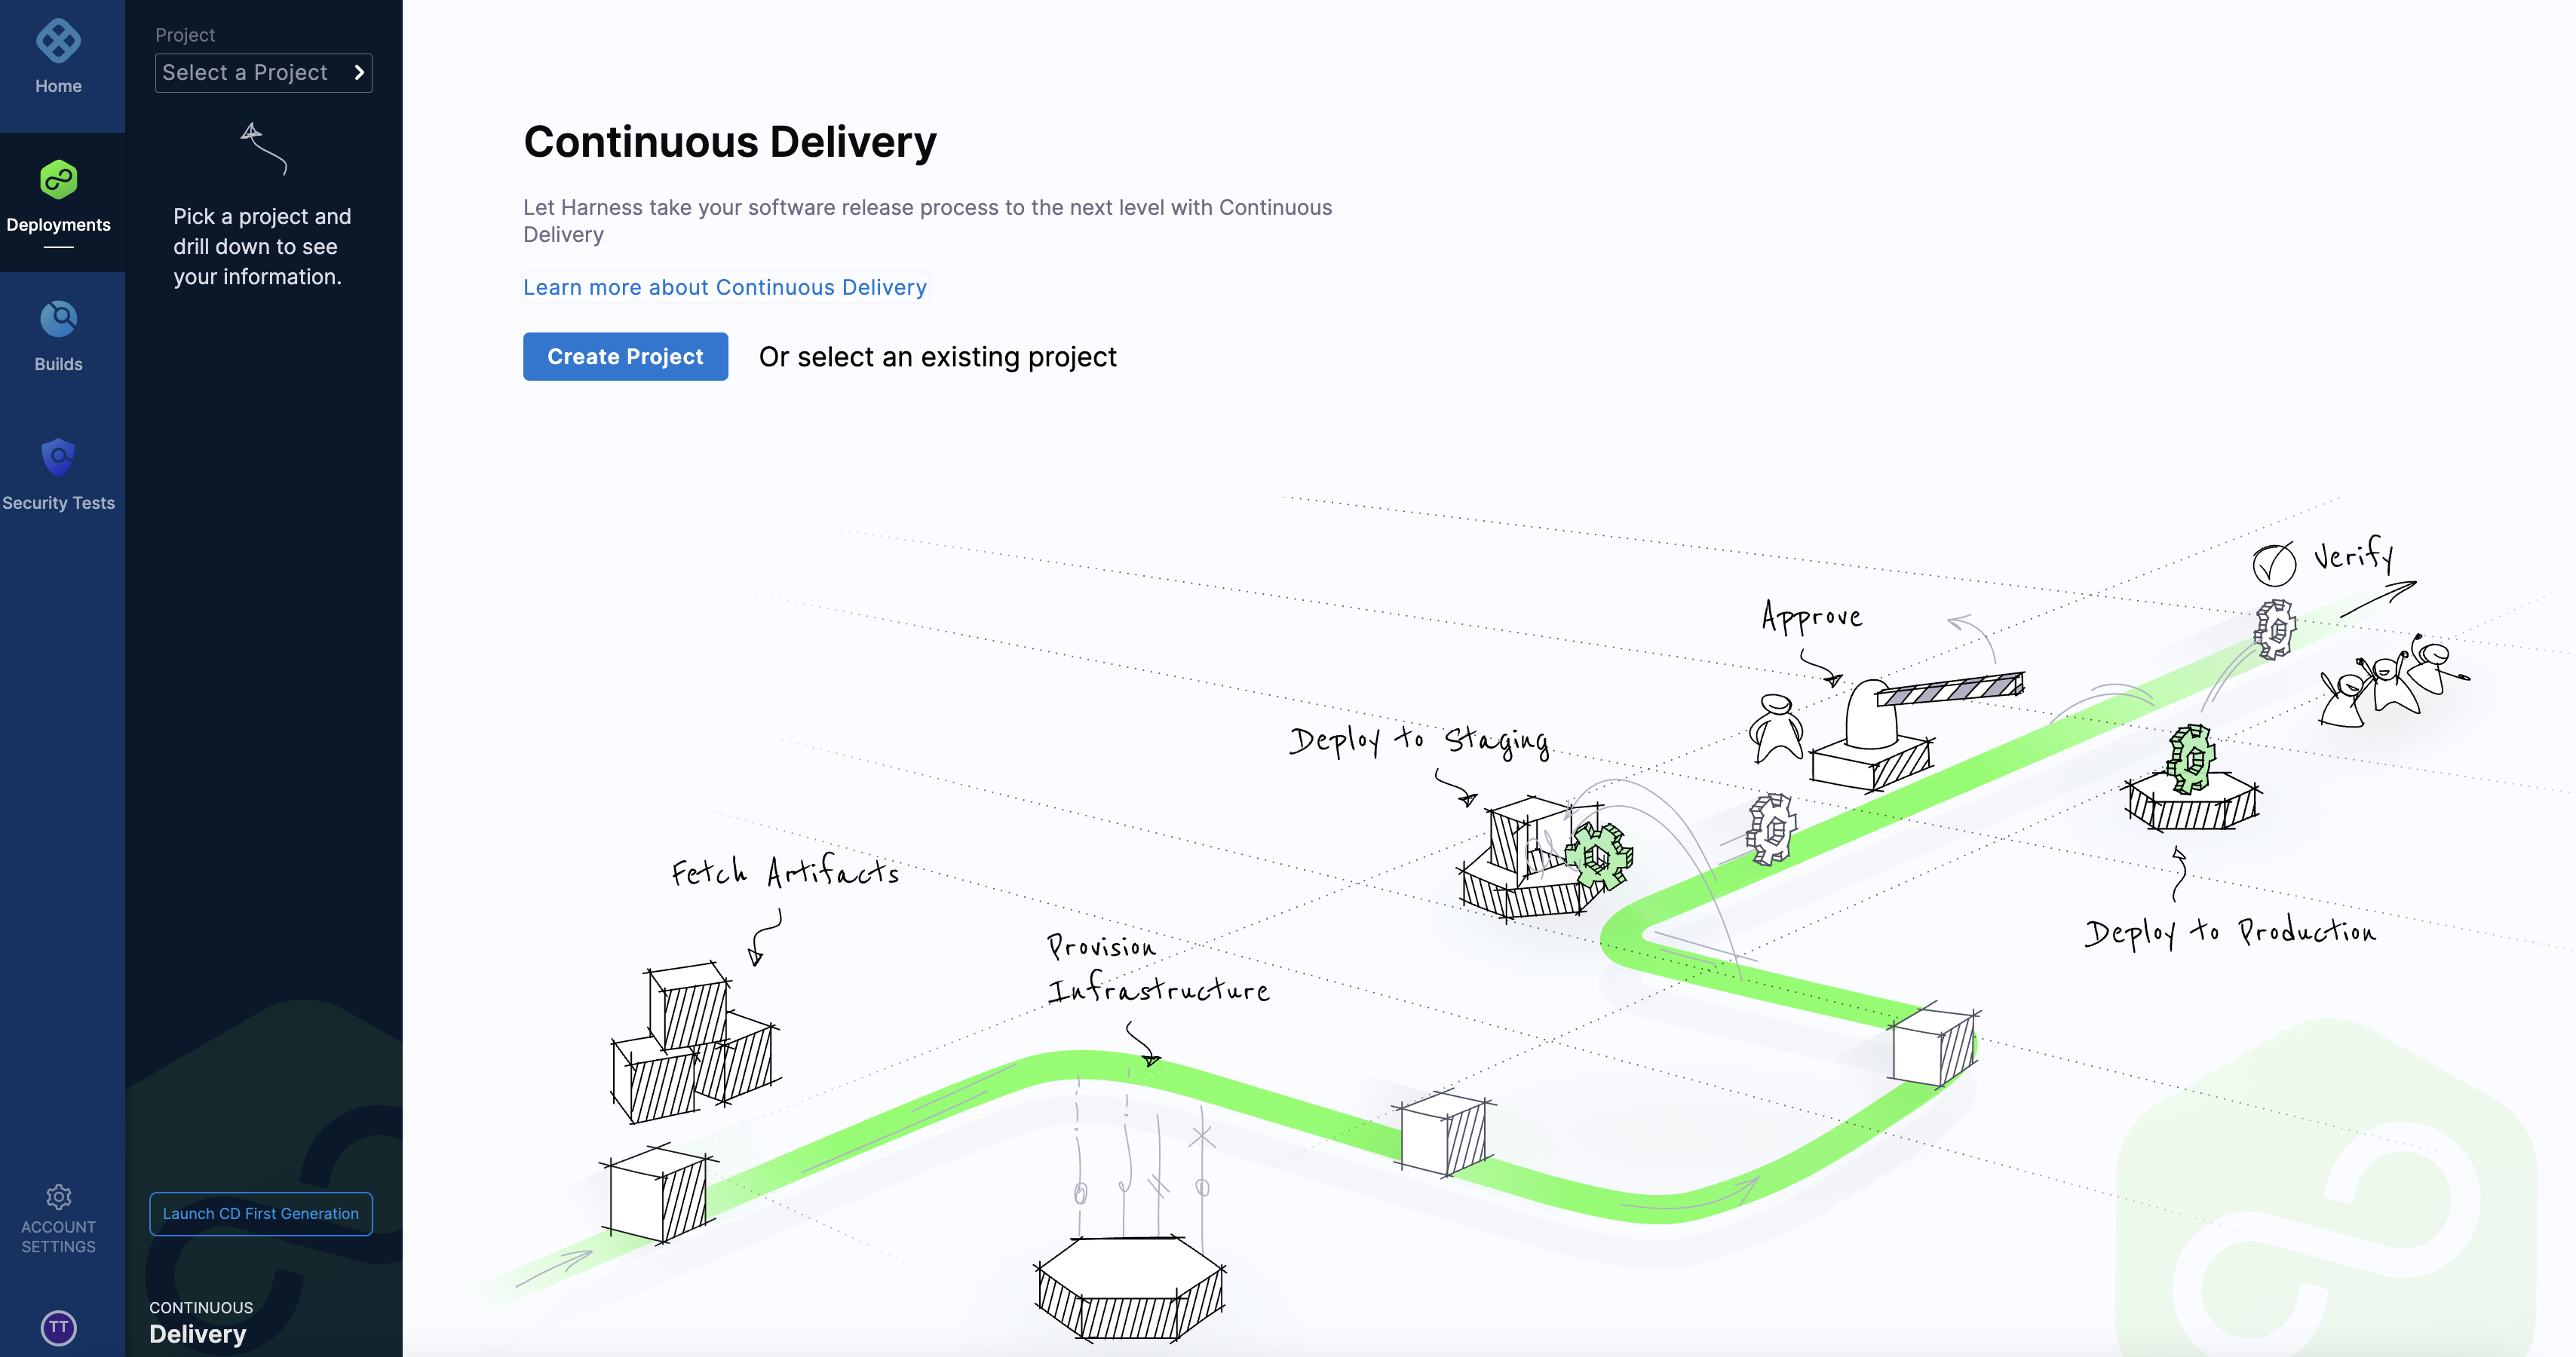
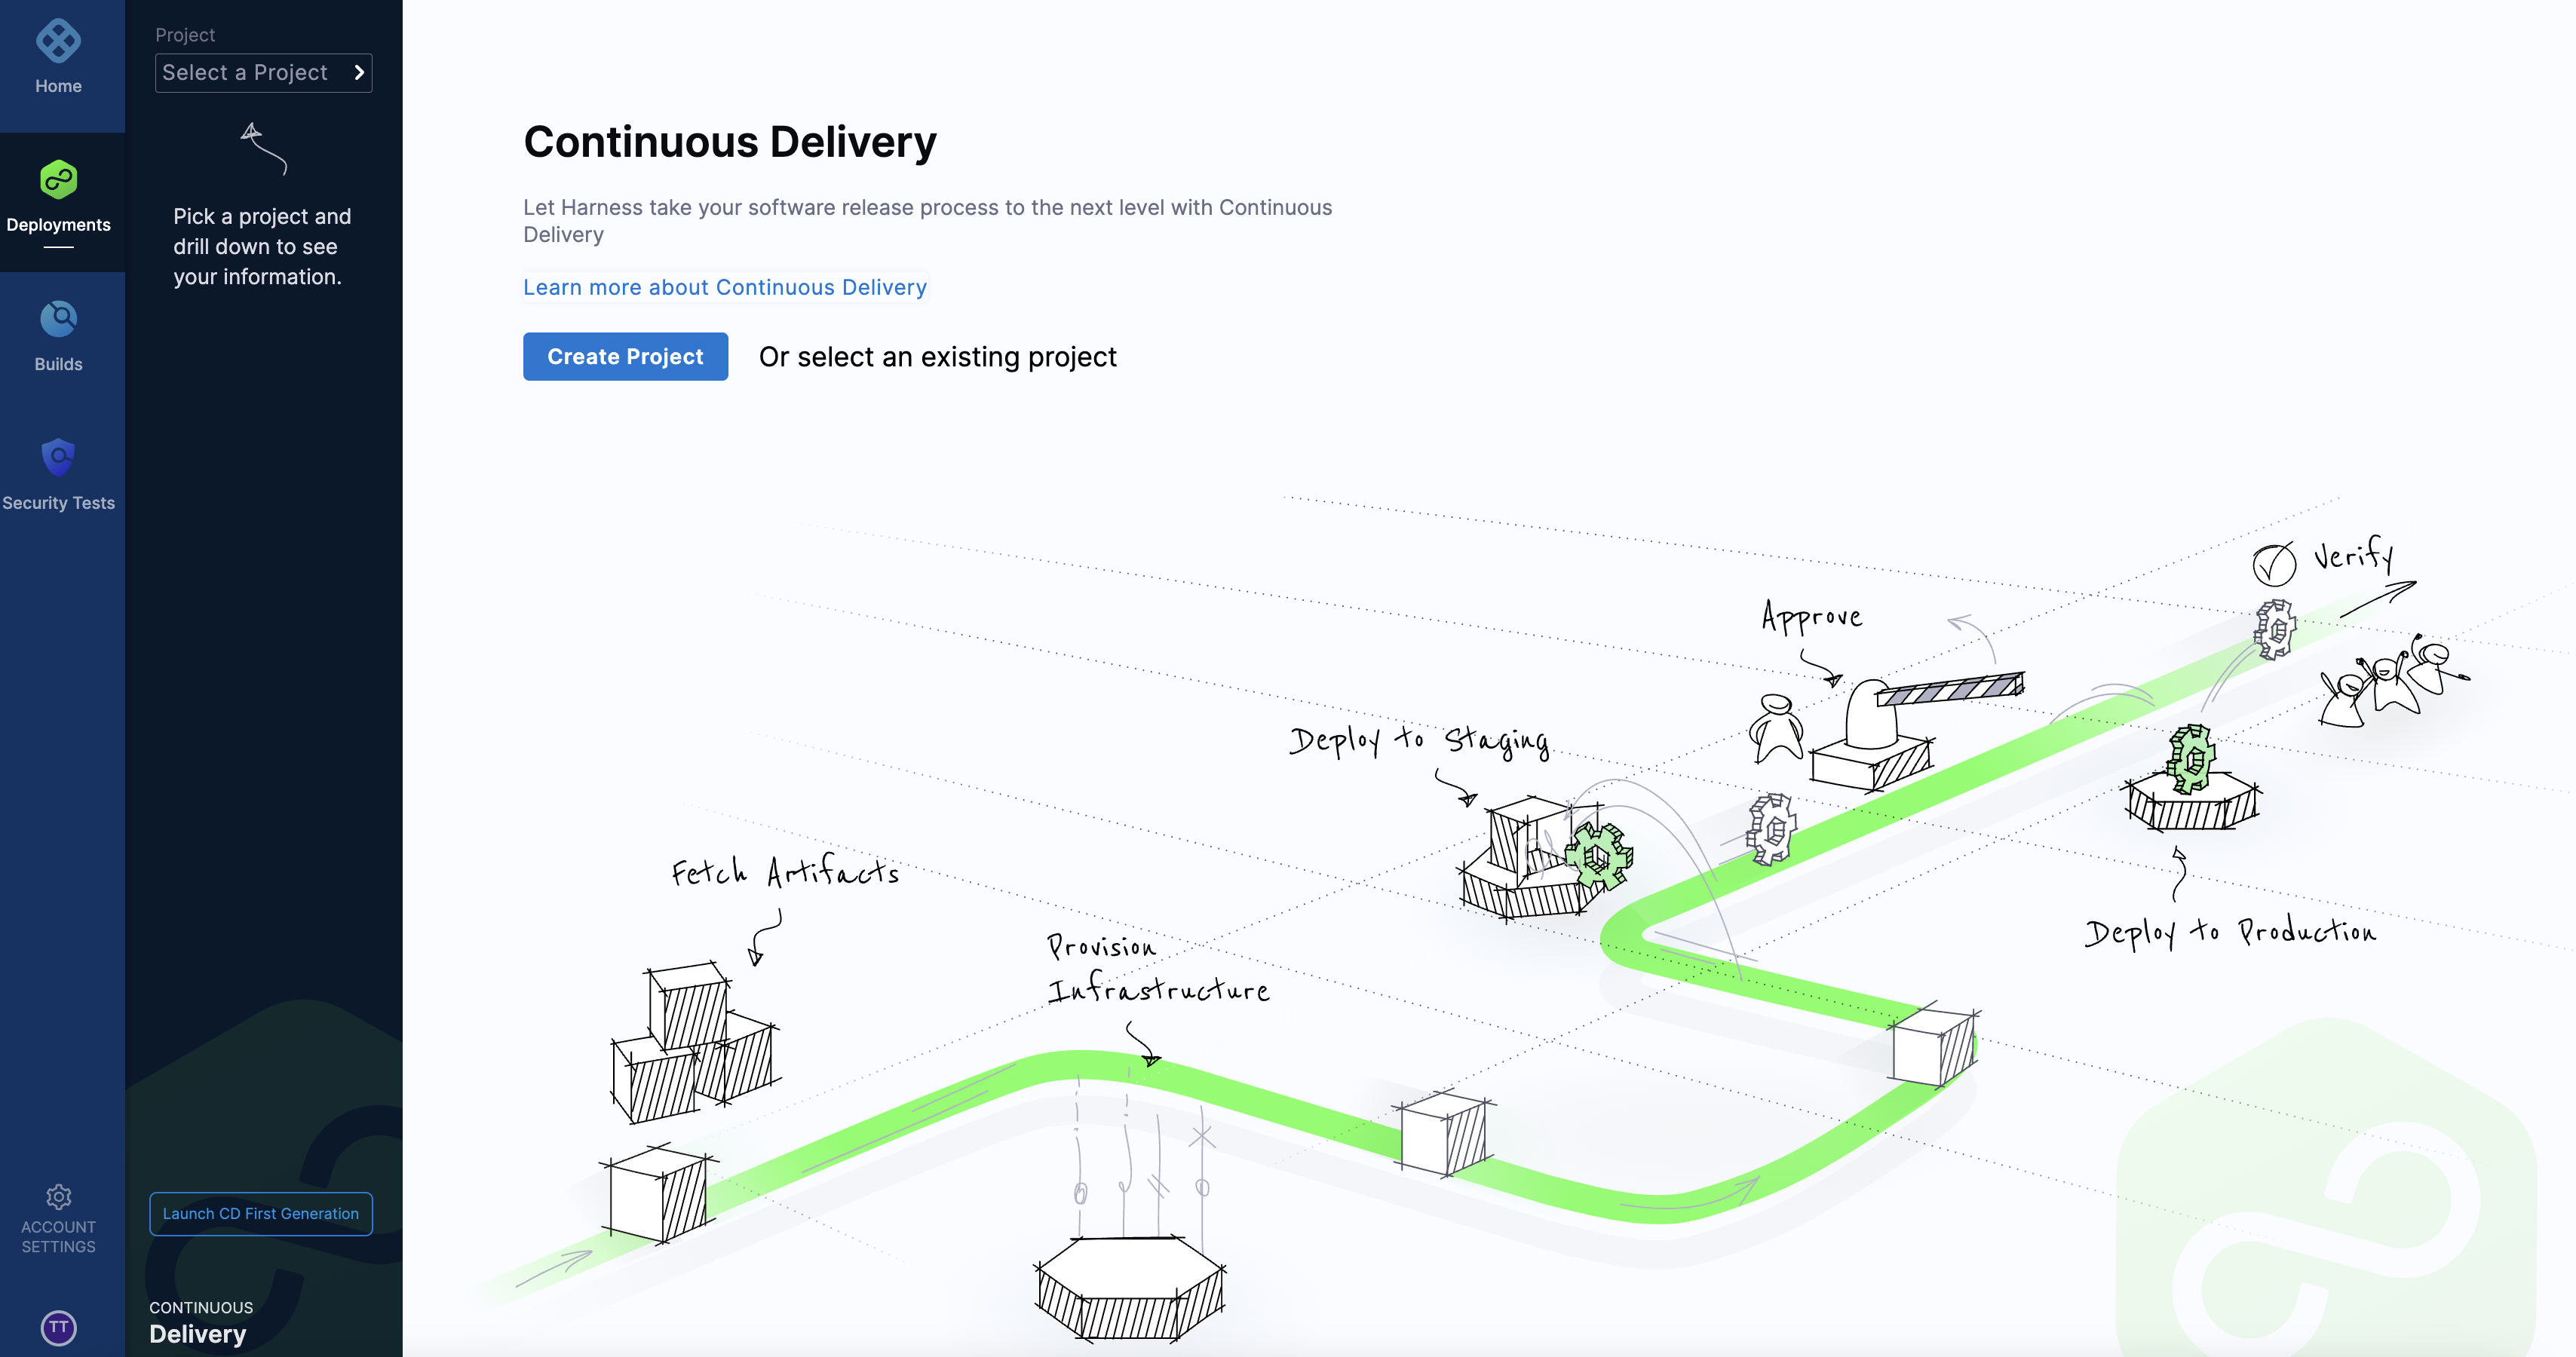
After your account is created, you arrive at the Continuous Delivery start page.
Create your first project
To create a project, do the following:
-
From the Continuous Delivery start page, select Create Project.
-
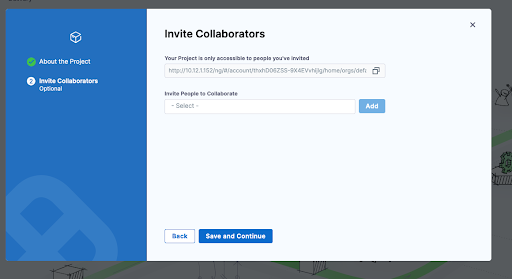
In Invite Collaborators, type of the names of the collaborators you want to invite.
-
Enter the project name, and optionally enter a description and tags for your project.
-
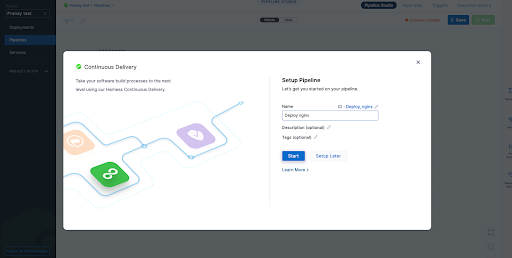
Select Setup Later.
Next steps
To get started with Harness Self-Managed Enterprise Edition, go to the following Harness module topics:
- Harness CCM: Cloud Cost Management (CCM) overview.
- Harness CI: Continuous Integration (CI) overview.
- Harness CD: Continuous Delivery (CD) key concepts.
- Harness FF: Feature Flag (FF) onboarding guide.
- Harness STO: Security Testing Orchestration (STO) overview.
- Harness Chaos Engineering: Get started with Harness Chaos Engineering (CE).